After installing all pre-requisites, the next step is to prepare our Active Directory forest for Exchange Server 2019 installation.
Check out the first part of this blog series on Step-By-Step Guide: How to setup Exchange Server 2019 on Windows Server 2022: Part-1.
Exchange 2019 setup will complete these tasks for us automatically, but we want to prepare AD Forest (and Domains) manually by using setup.exe command.
We need to make sure that we have sufficient permission to perform these tasks (requires Domain Admin, Enterprise Admin, Schema Admin access in the Domain)
My LAB Environment
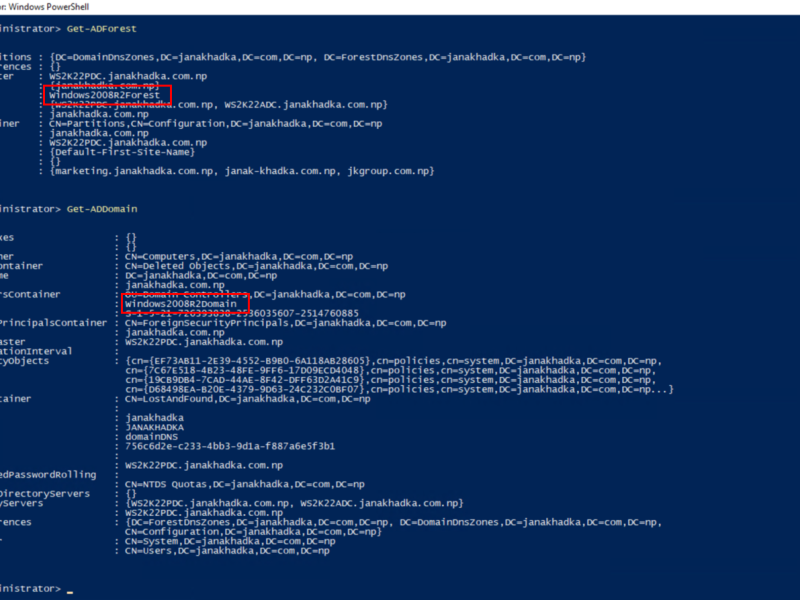
WS2K22PDC: Domain Controller and DNS Server for janakhadka.com.np domain
WS2K22EXG19: Member server in janakhadka.com.np domain
Prepare Active Directory Environment (Forest and Domains) for Exchange 2019 Installation
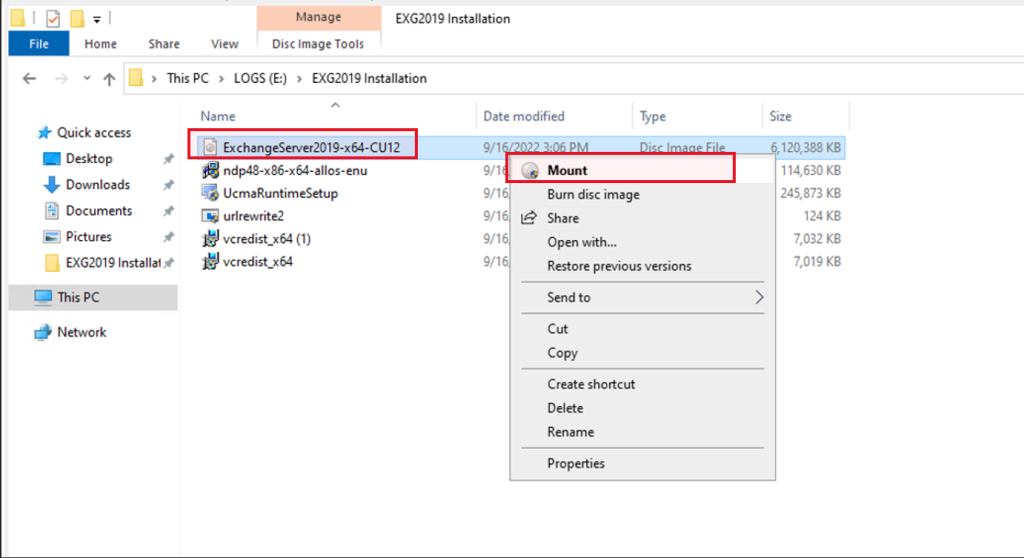
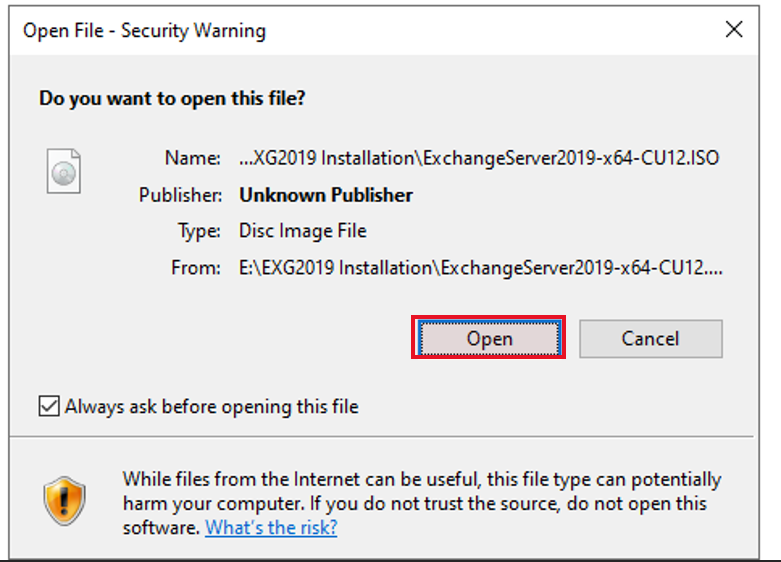
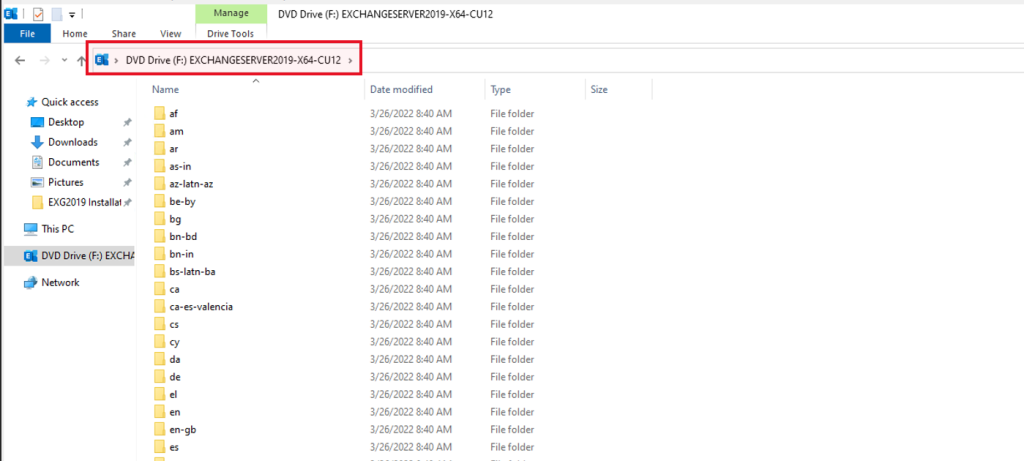
- On the WS2K22EXG19 member server, right-click on the Exchange ISO image file that we have downloaded, and then select Mount. It will prompt for Security Warning, select Open. Note the virtual DVD drive letter that’s assigned (here in my case it’s F: Drive).
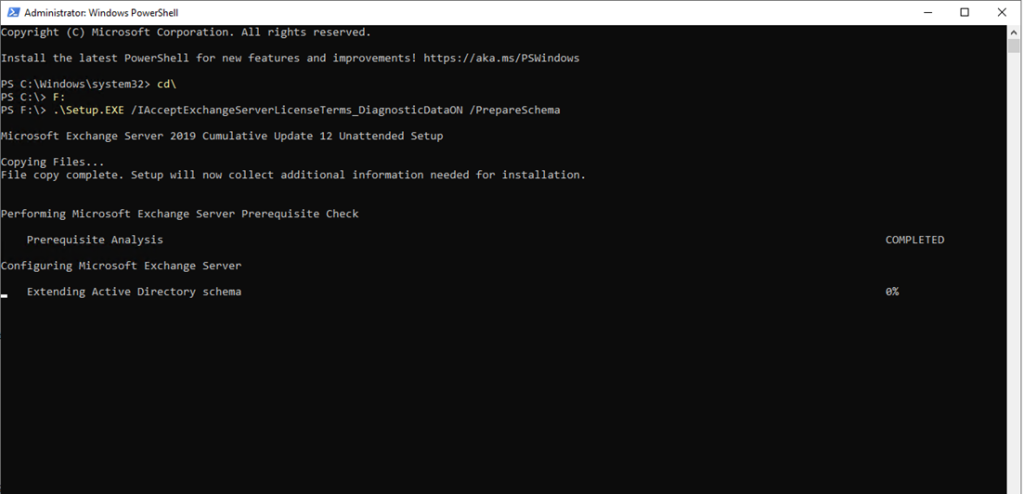
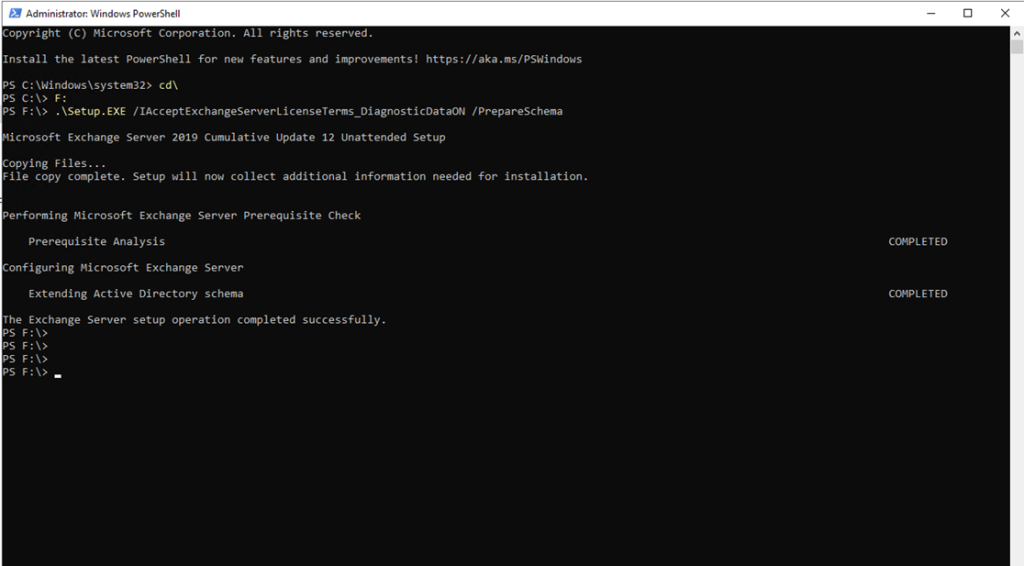
Step 1: Extend the Active Directory schema
- To extend the AD Schema for Exchange 2019, open Windows PowerShell as Administrator and run below command:
F:\> .\Setup.EXE /IAcceptExchangeServerLicenseTerms_DiagnosticDataON /PrepareSchema
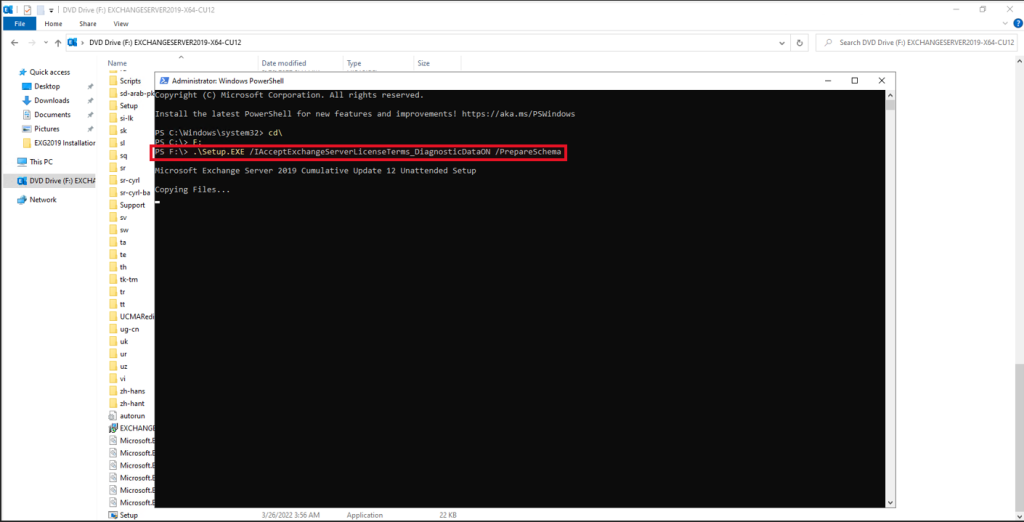
This process first performs prerequisites check and then extend the schema.
Notes:
- Your account needs to be a member of the Schema Admins and Enterprise Admins security groups to run this command.
- After Setup finishes extending the schema, you’ll need to wait while Active Directory replicates the changes to all your domain controllers before you proceed (if exist).
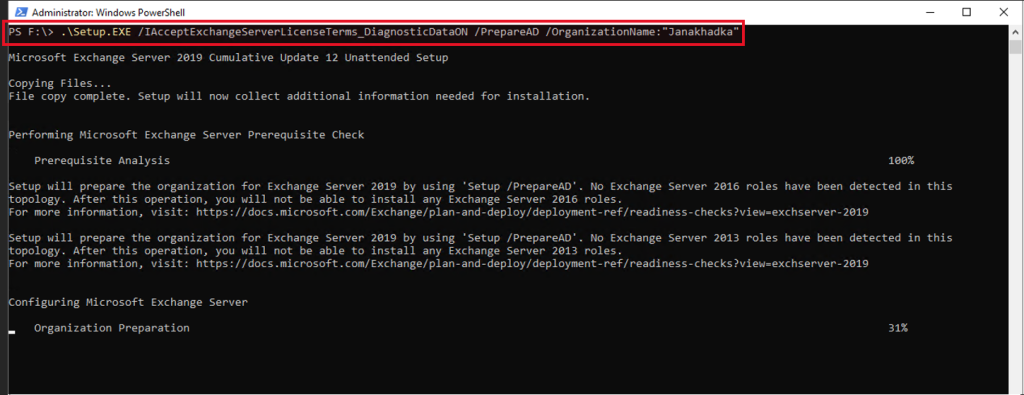
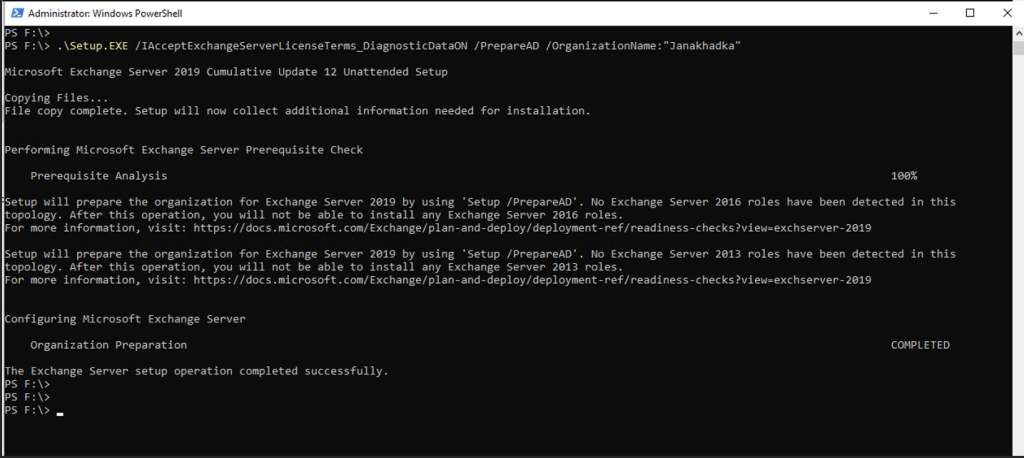
Step 2: Prepare Active Directory
- After the Active Directory schema has been extended, you can prepare other parts of Active Directory for Exchange. During this step, Exchange will create containers, objects, and other items in Active Directory to store information. Run below cmdlet in Windows PowerShell (run as administrator).
F:\>.\Setup.exe /IAcceptExchangeServerLicenseTerms_DiagnosticDataON /PrepareAD /OrganizationName:”Janakhadka”
Step 3: Install Microsoft Exchange 2019 on Windows Server 2022
We are now ready to install our first Exchange Server 2019 on Windows Server 2022 (with desktop experience). We can install Exchange 2019 by GUI itself or through command.
This time, I’m doing it through command line interface.
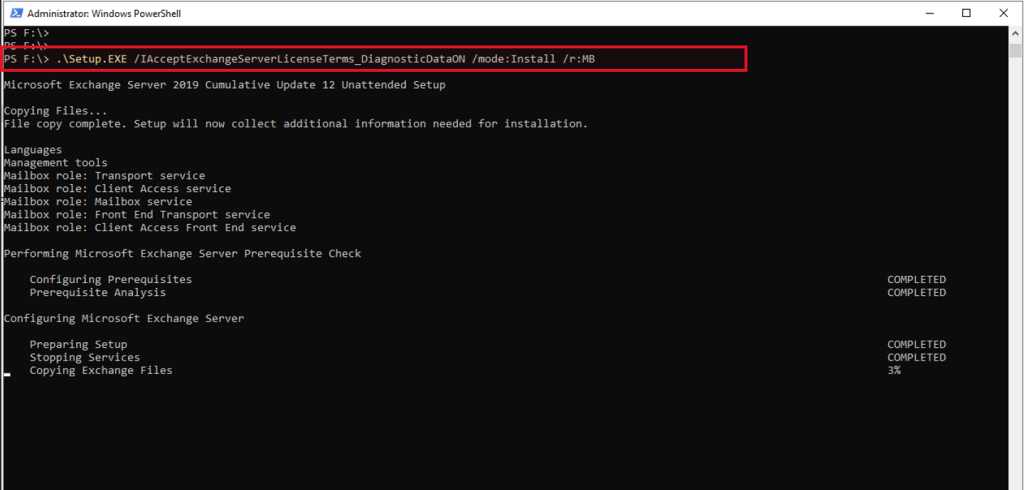
- Open Windows PowerShell as administrator access, and then run the below command.
F:\> .\Setup.exe /IAcceptExchangeServerLicenseTerms_DiagnosticDataON /mode:Install /r:MB
It will start copying files first and then installation of each role one by one.
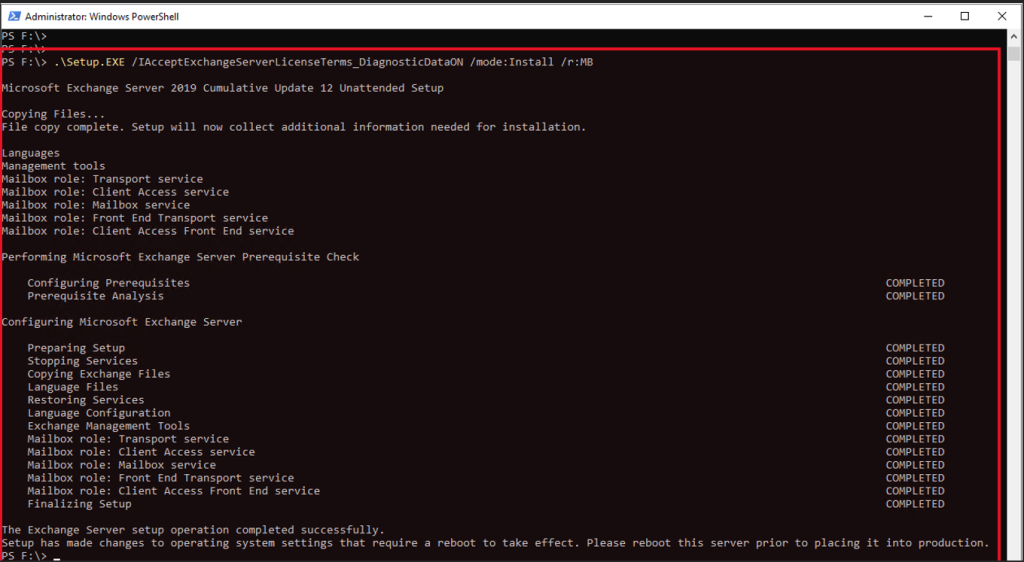
It’s recommended to restart the server after completing the installation.
Verify Microsoft Exchange 2019 Installation
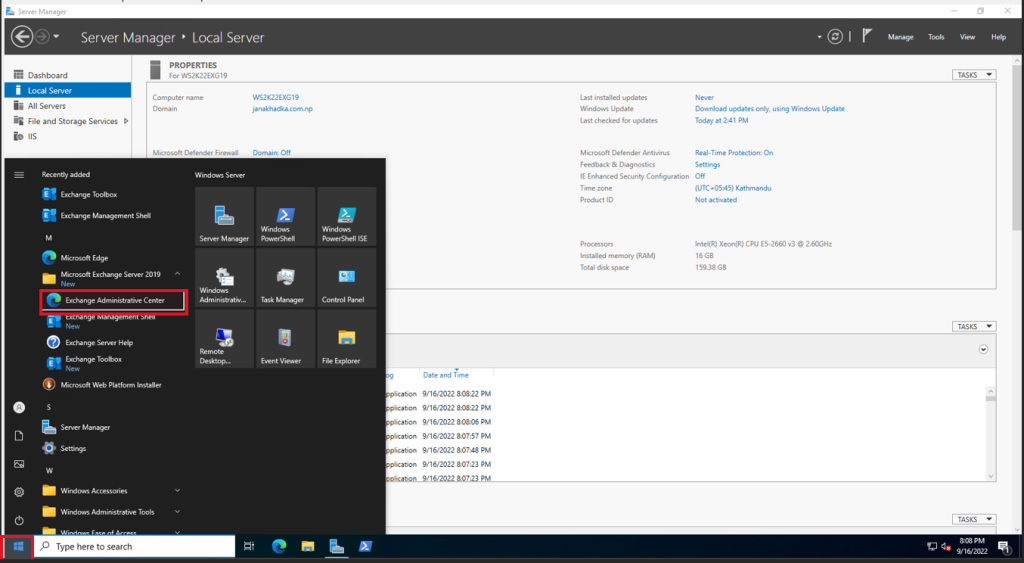
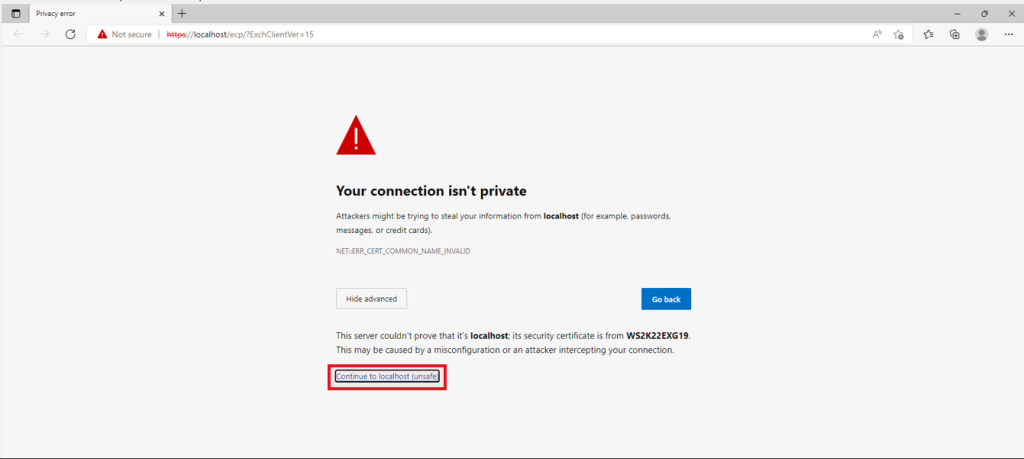
After rebooting the server, to verify the installation, click on Start, then select Microsoft Exchange Server 2019 and then choose Exchange Administrative Center. It will prompt for the Privacy Connection error you can ignore it and click on Continue to localhost (unsafe). Provide the user credentials and then click Sign in.
You can also access the Exchange Admin Center by navigating to the URL https://localhost/ecp, the URL you can also change/customize later. Provide the user credentials and then click Sign in.

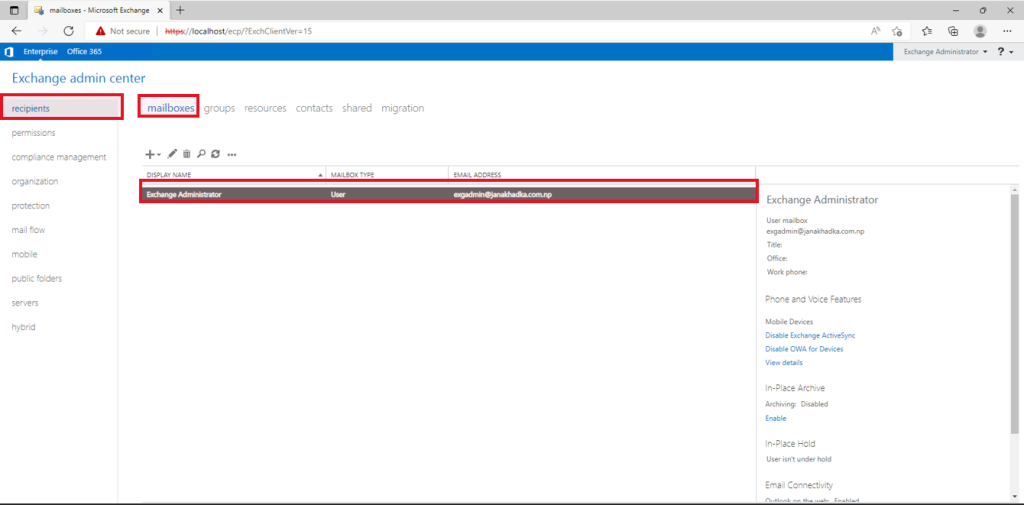
Verify the administrative user you have used during installation (in my case Exchange Administrator i.e. exgadmin@janakhadka.com.np) created under mailboxes section the recipient pane.
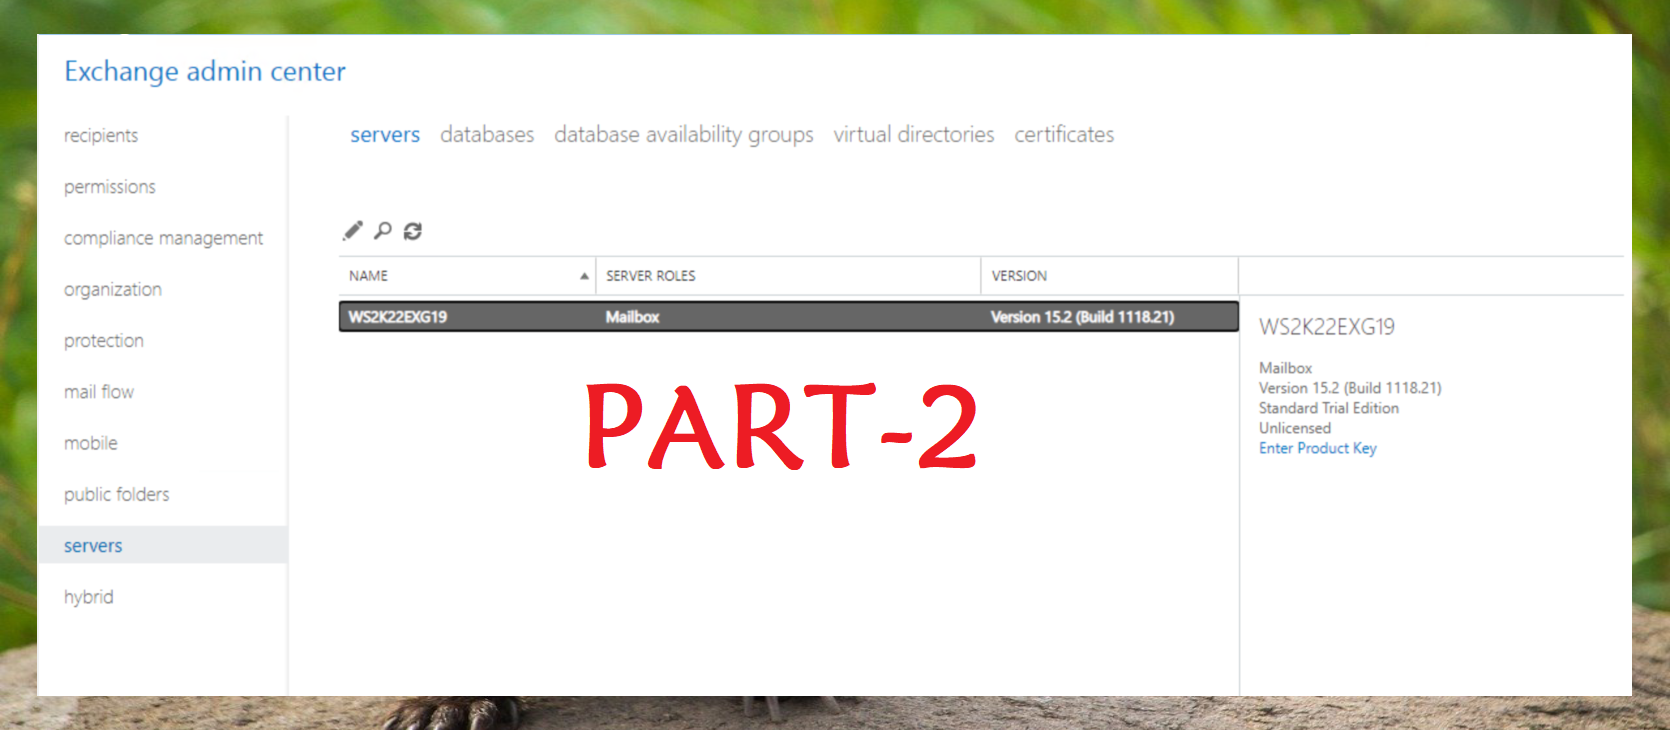
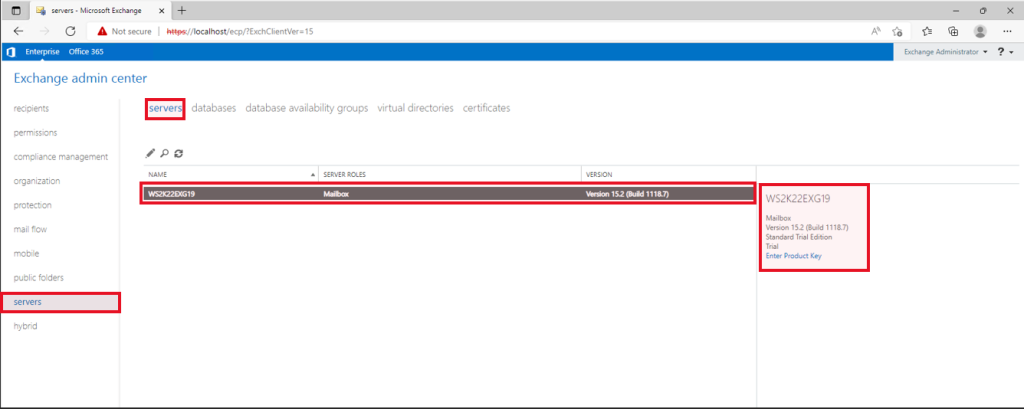
You can also verify the installed exchange version under the servers section in servers pane.
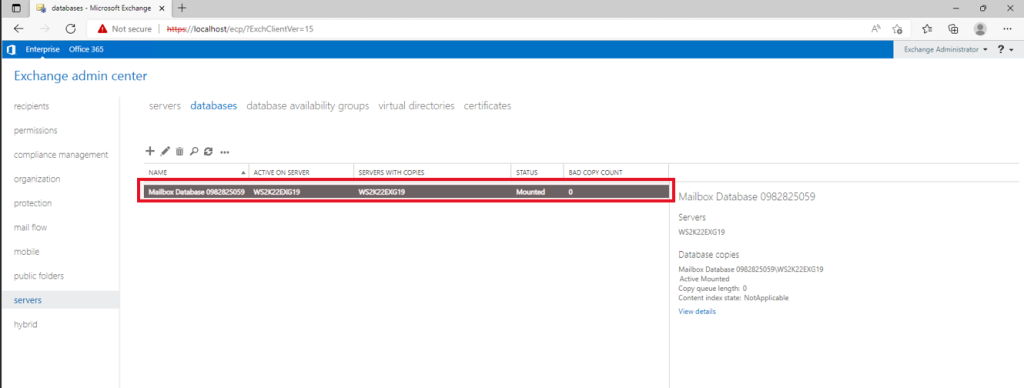
Similarly, you can verify the default database created under the databases section in servers pane.
That’s all for the Step-By-Step Guide for the installation of Exchange Server 2019 on Windows Server 2022. Hope this will be helpful.
Er. Janak Khadka