Migrating Virtual Machines (VMs) from an on-premises Hyper-V environment to Microsoft Azure can offer numerous benefits, including scalability, cost-efficiency, and enhanced disaster recovery options. In this technical blog, we will explore the process of migrating Hyper-V VMs to Azure using the latest technologies and best practices.
Prerequisites
1. Hyper-V Environment: You should have a functional Hyper-V environment with VMs you wish to migrate from.
2. Azure Subscription: You should have an active Azure Subscription.
3. Azure Migrate: This service helps assess and migrate on-premises workloads to Azure. Make sure you have an active Azure Migrate project.
Step-by-Step Migration Guide
Step 1: Prepare Azure Environment
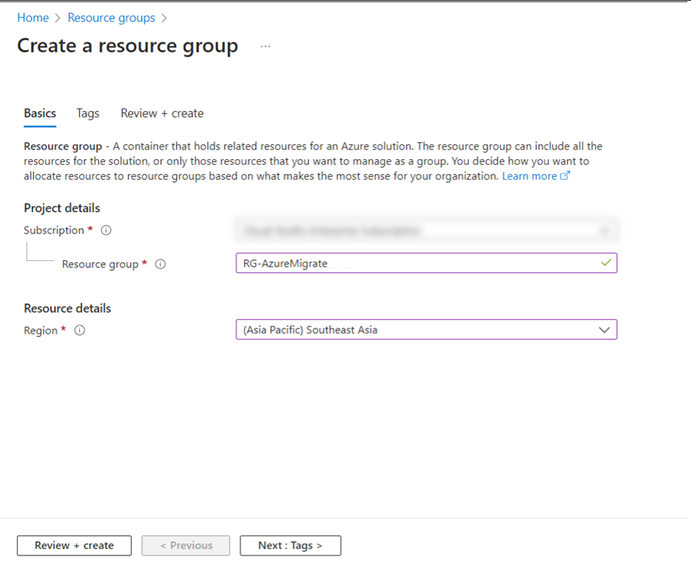
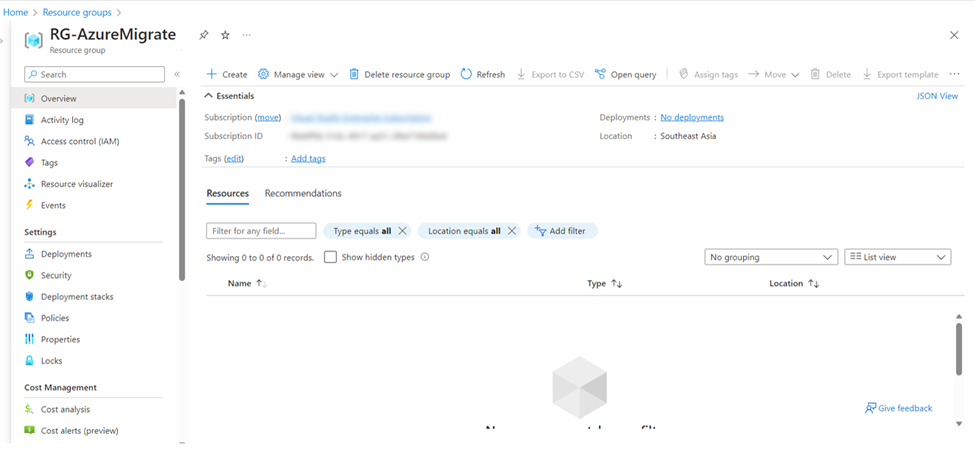
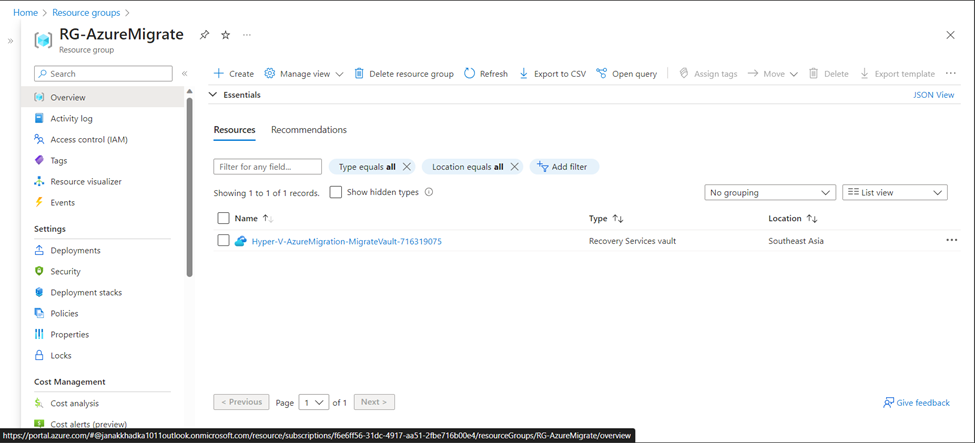
1. Create a Resource Group
In your Azure portal, create a new resource group to organize migrated resources.
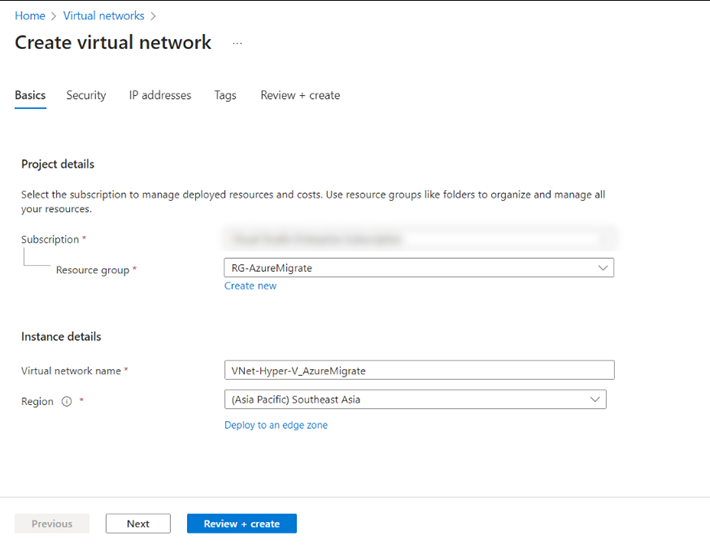
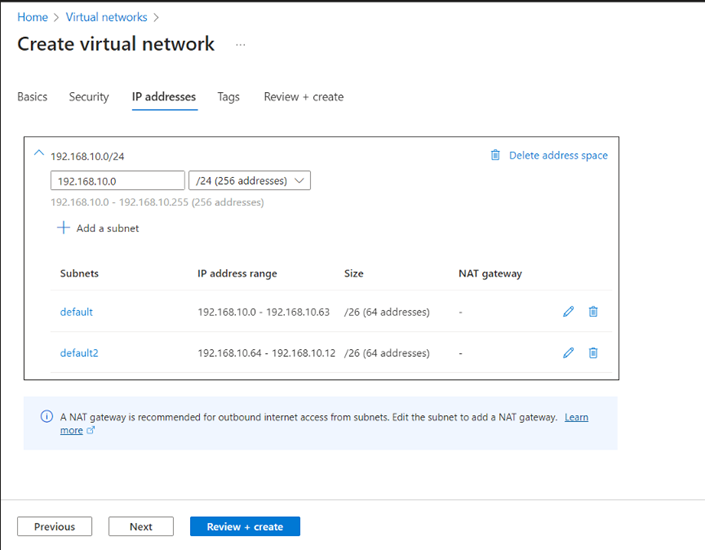
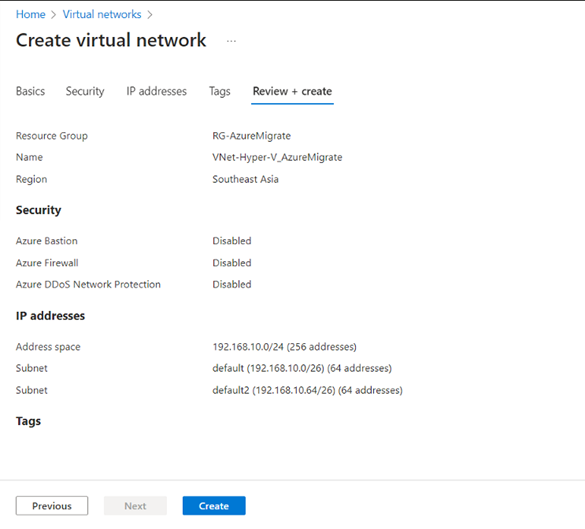
2. Set Up Virtual Network
Create a virtual network that will host the migrated VMs. Configure subnets and address spaces accordingly.
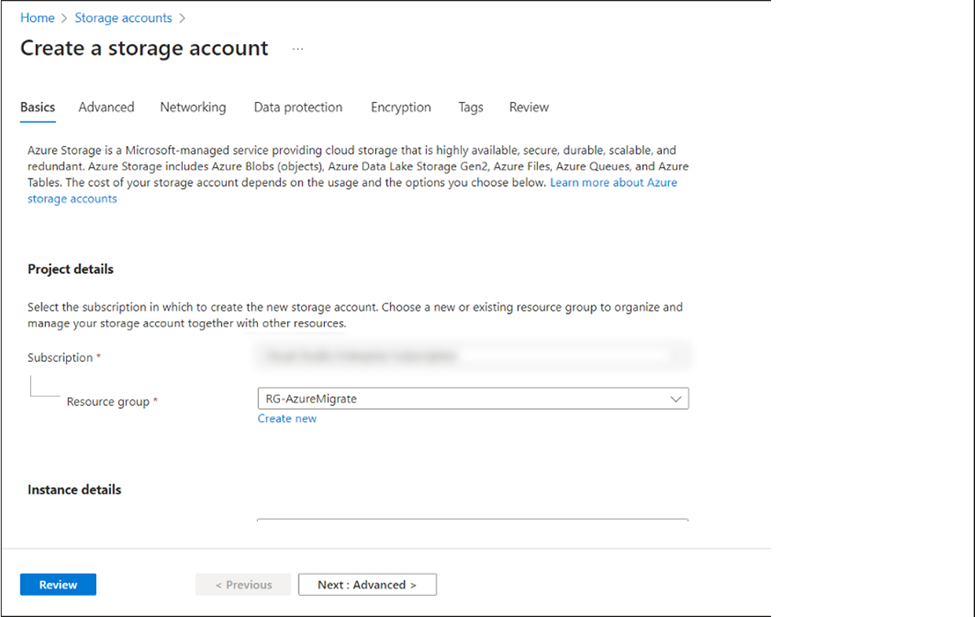
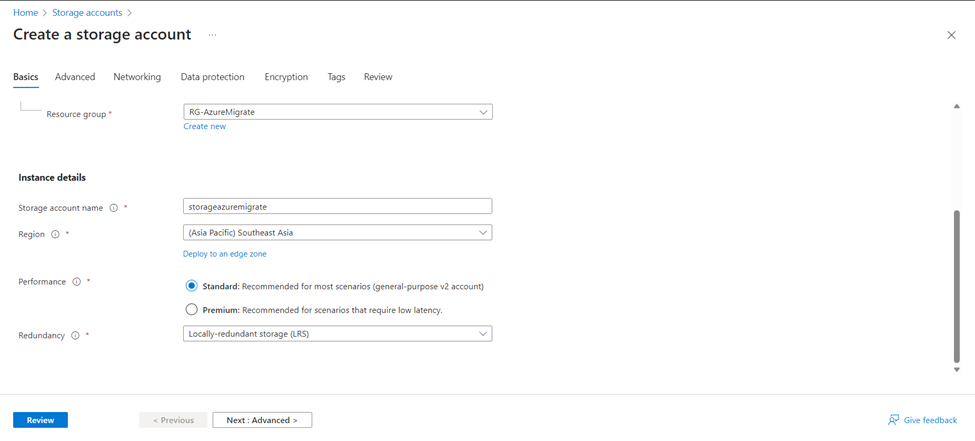
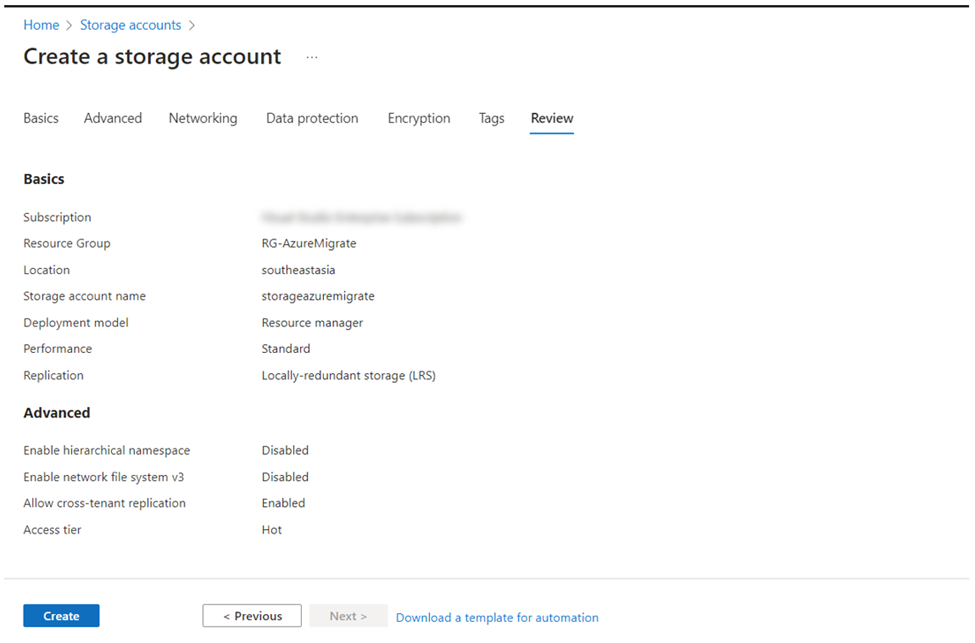
3. Create a Storage Account
Create a storage account in the same resource group to store the VM images during migration.

| Note: By Default, Azure Storage Account will be created with the settings “Enable soft delete for blobs” enabled. Since Azure Site Replication doesn’t support the soft delete enabled storage account, you should disable it first. You can find this setting in Data Protection settings of your Storage Account. |
Step 2: Install and Configure Migration and Modernization Tool
1. Create and manage projects
Create a new project if you’re doing it for the first time. Later, you can use it for different configurations within the same project.
1.1 In the Azure portal under All Services, search for the Azure Migrate or you can search directly on the Azure Portal Home page.
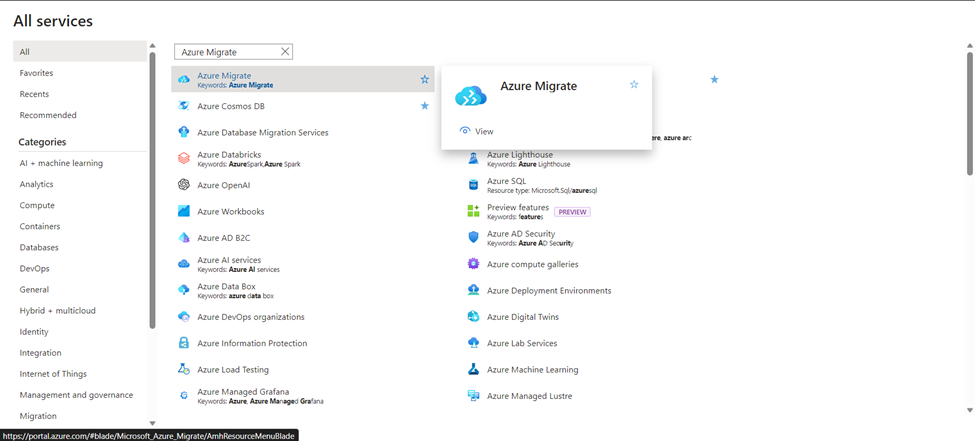
Select Azure Migrate.
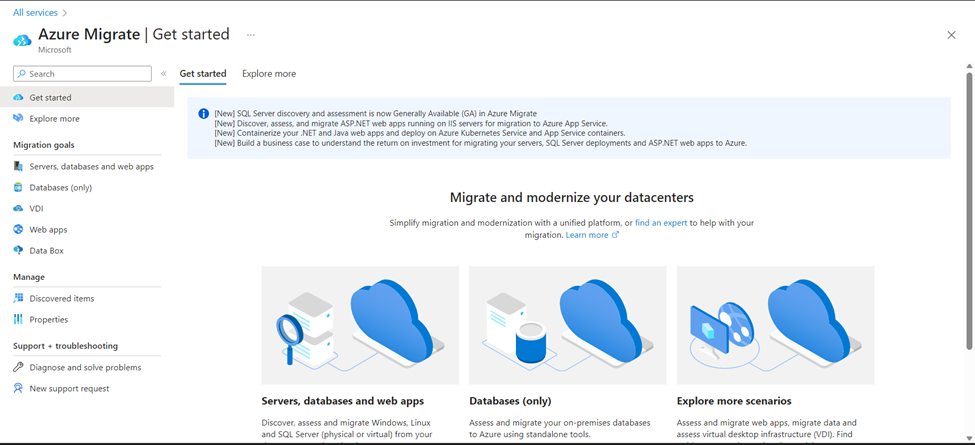
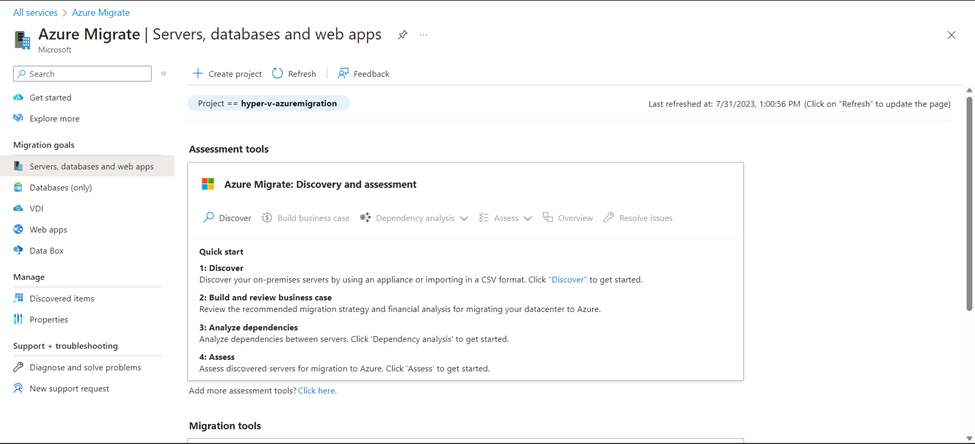
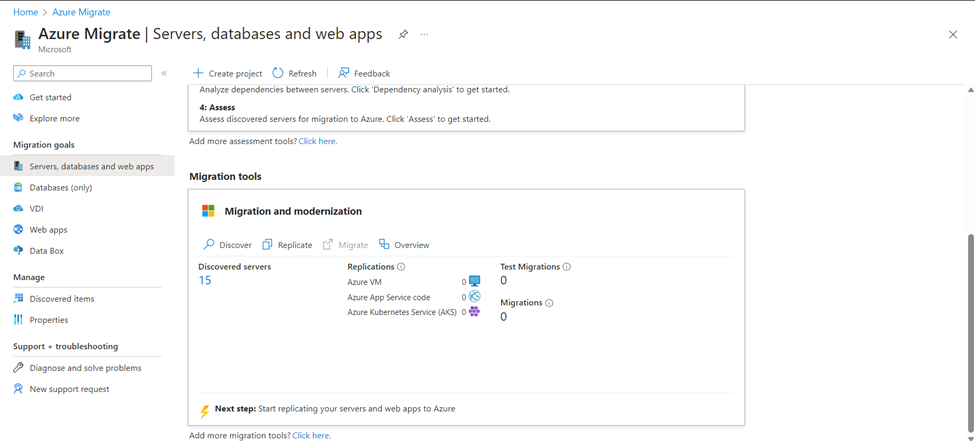
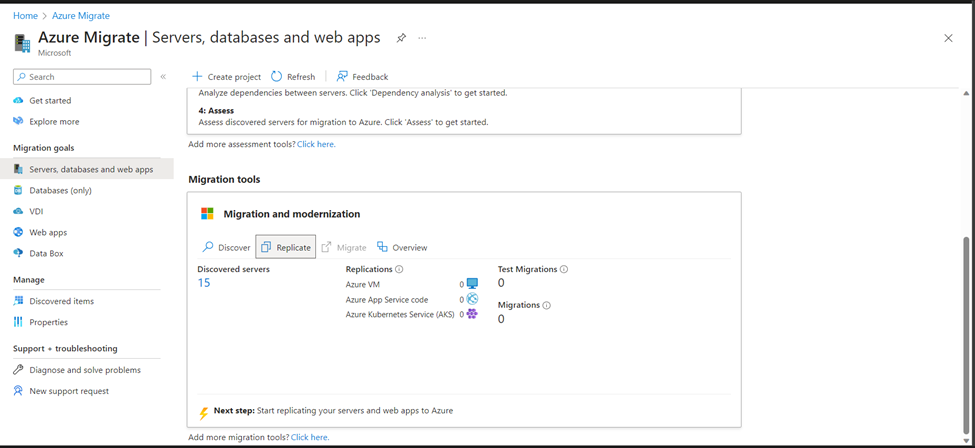
1.2 From the left pane, under Migration goals select Servers, databases, and web apps.
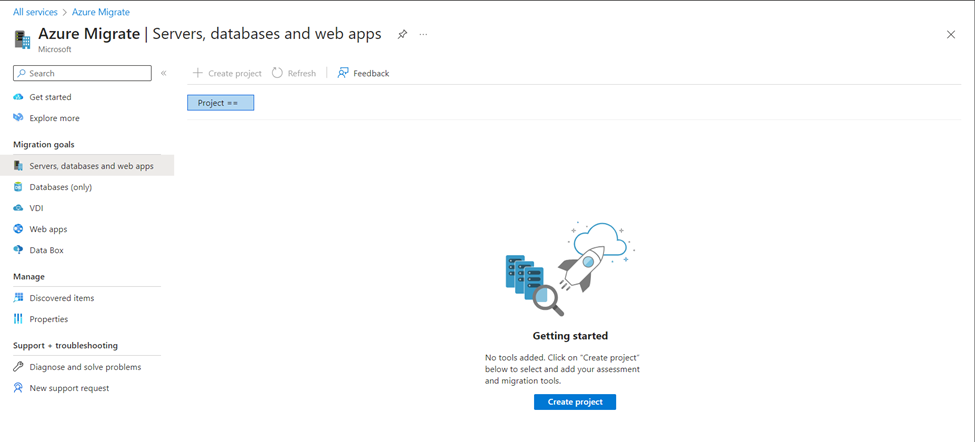
1.3 Since you’re creating the project for the first time, you won’t see any project listed. Click on Create project.
1.4 In the Create project page, select your Azure Subscription and Resource group. Give a suitable name for the project and select your suitable Geography for the project. Though You can assess or migrate servers for any target region regardless of the selected geography.
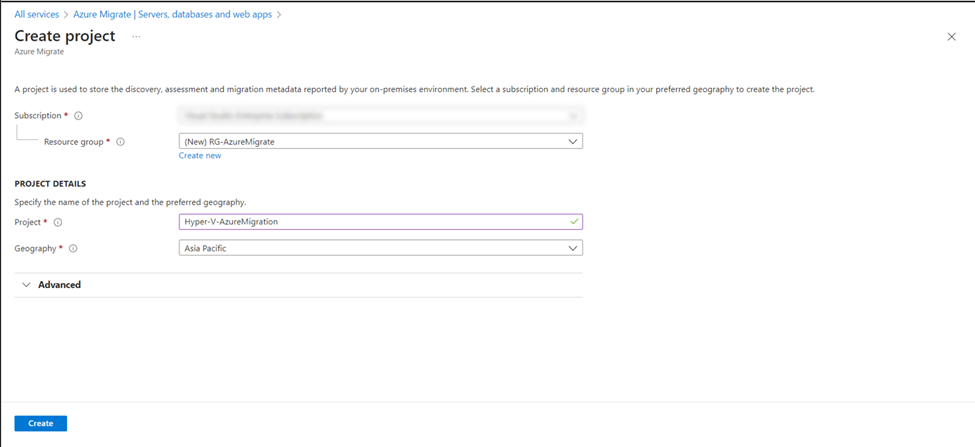
| Note: When setting up your project initially, the Resource Group might show as “(New)” if you haven’t created it yet. If you’ve previously followed the steps outlined above, you can effortlessly choose an existing Resource Group or create a new one right here during project setup. This adaptable approach provides convenience and customization to your setup process. |
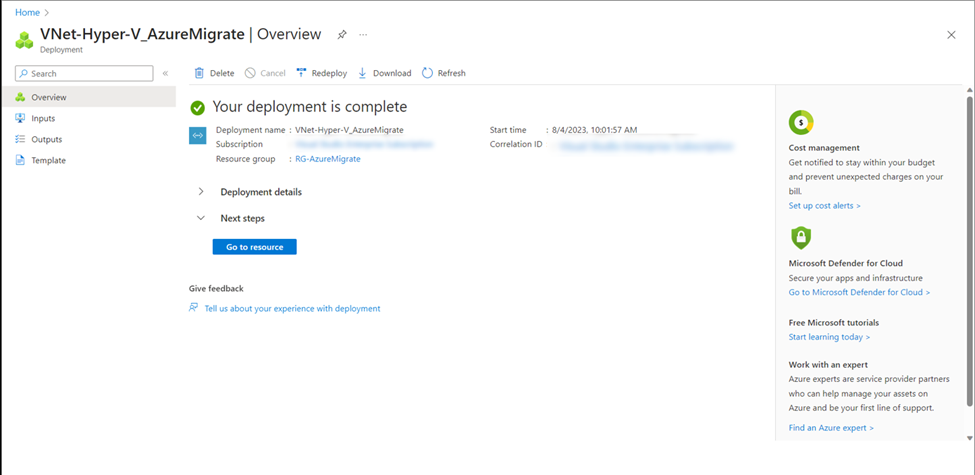
It will take a few minutes to deploy the project.
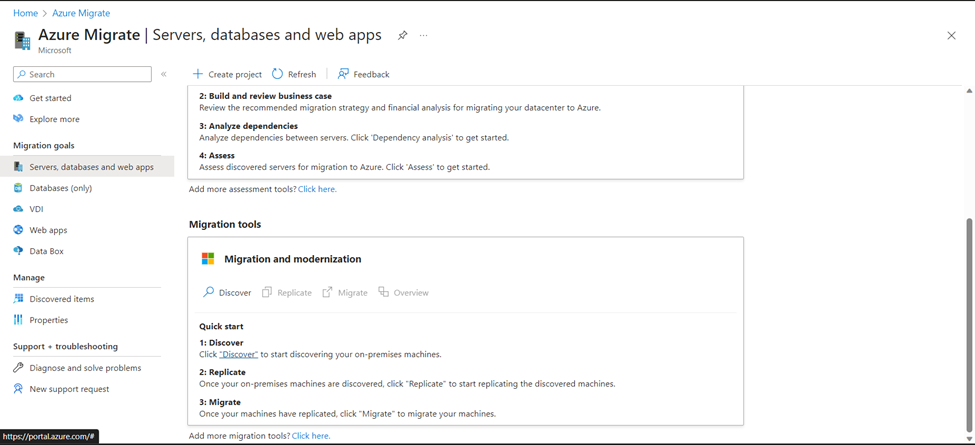
2. Download the Migration and modernization tool
Modernizing the process of migrating Hyper-V VMs entails deploying crucial software elements such as the Microsoft Azure Site Recovery provider and Microsoft Azure Recovery Service agent onto Hyper-V Hosts. This software deployment is facilitated by the Migration and Modernization tool.
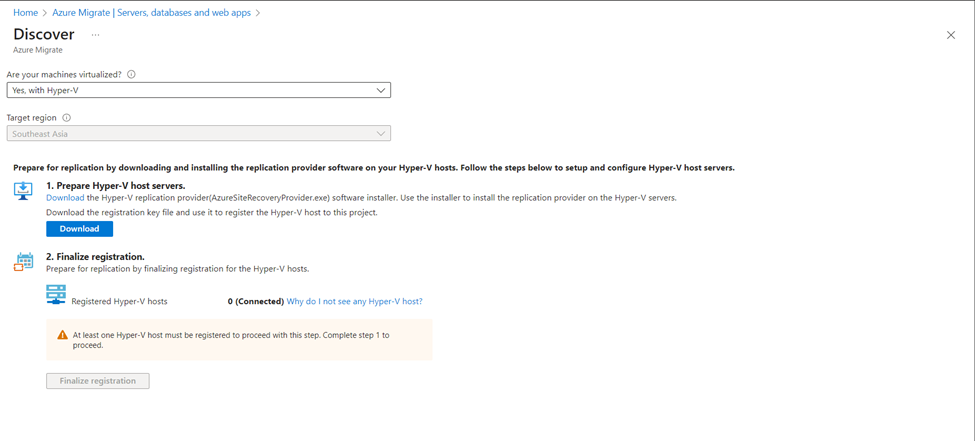
2.1 Go to your Azure portal. In the newly created Azure Migrate project, select Discover.
2.2 In Discover machines, under “Are your machines virtualized?”, select Yes, with Hyper-V.
2.3 In the Target region, select the Azure region to which you want to migrate the machines.
2.4 Finally select Confirm that the target region for migration is your chosen region. And then click on Create resources.
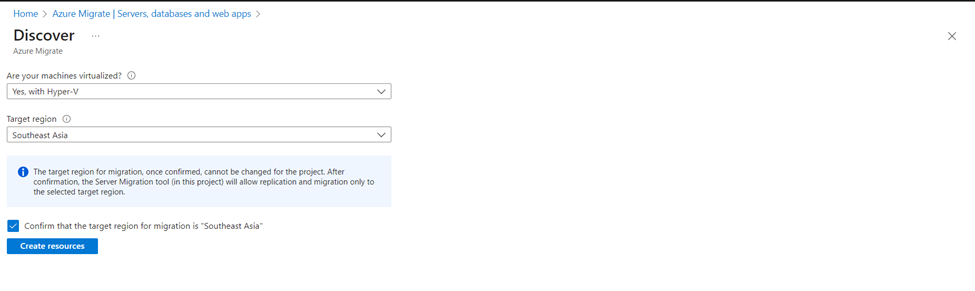
This will create a Recovery Services Vault in the background.
2.5 After confirming your selections, you’ll be directed to the download options as shown below. Download both the Hyper-V replication provided software and the registration key file.
3. Install and register the provider software
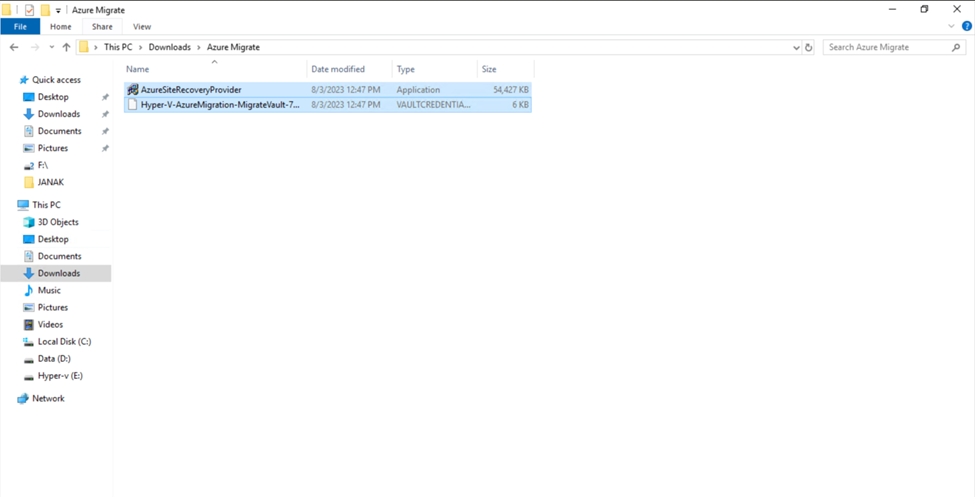
Copy the downloaded files (both installer file and registration key file) to your Hyper-V Host Server. In my case, the Hyper-V Host Server name is WS2K19 and I’ve copied these files to the Server’s Downloads section in a folder “Azure Migrate” as shown below.
To install and register the provider, follow the steps below.
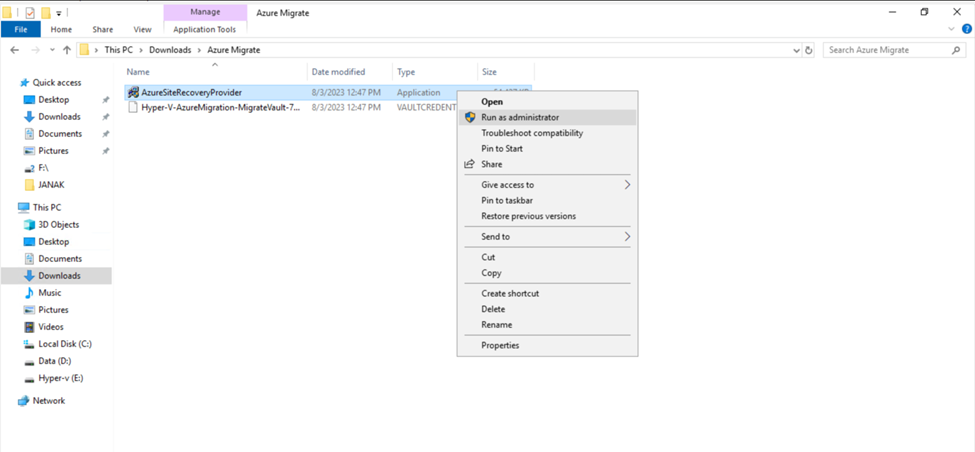
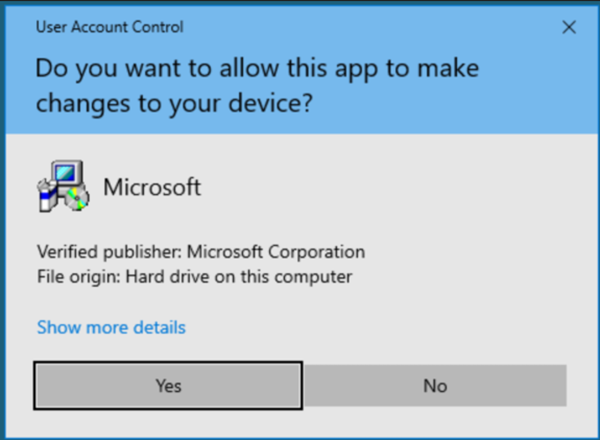
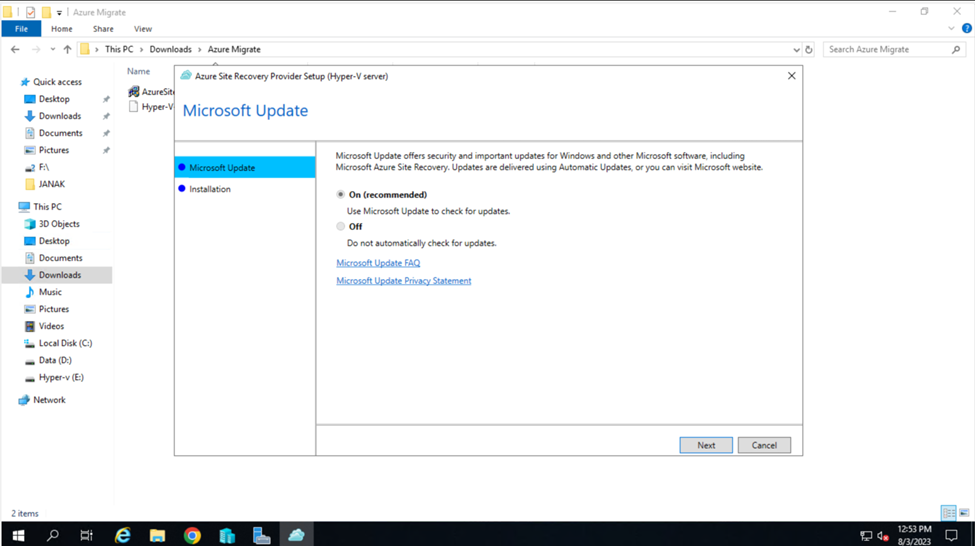
3.1 Right-click on the file “AzureSiteRecoveryProvider.exe” and select Run as administrator. It will pop up for User Account control, click on Yes to proceed.
3.2 In the Provider Setup wizard, ensure the option On (recommended) is checked. Click on Next to proceed.
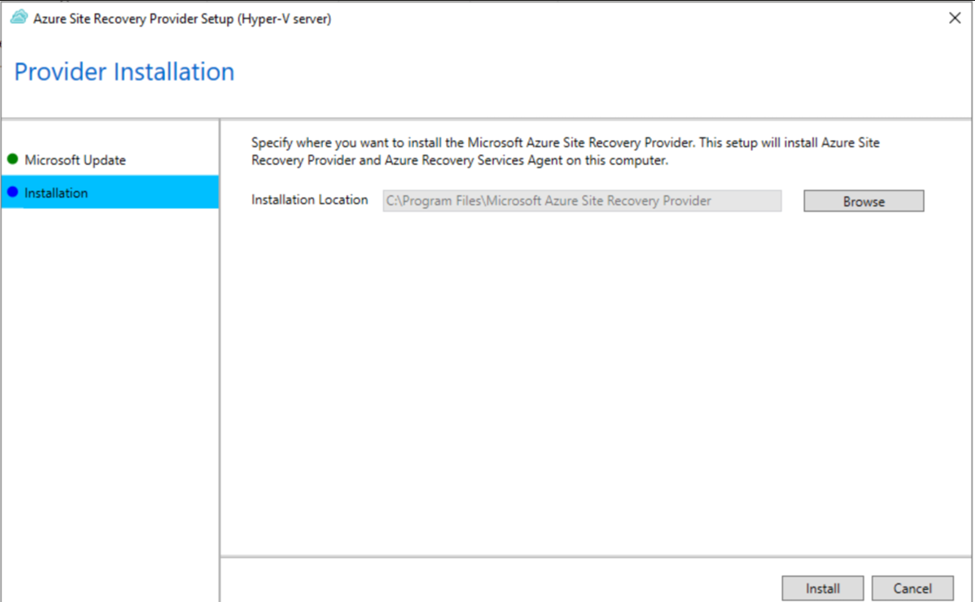
3.3 To modify the installation location, click Browse. Otherwise, keep it as Default and click Install.
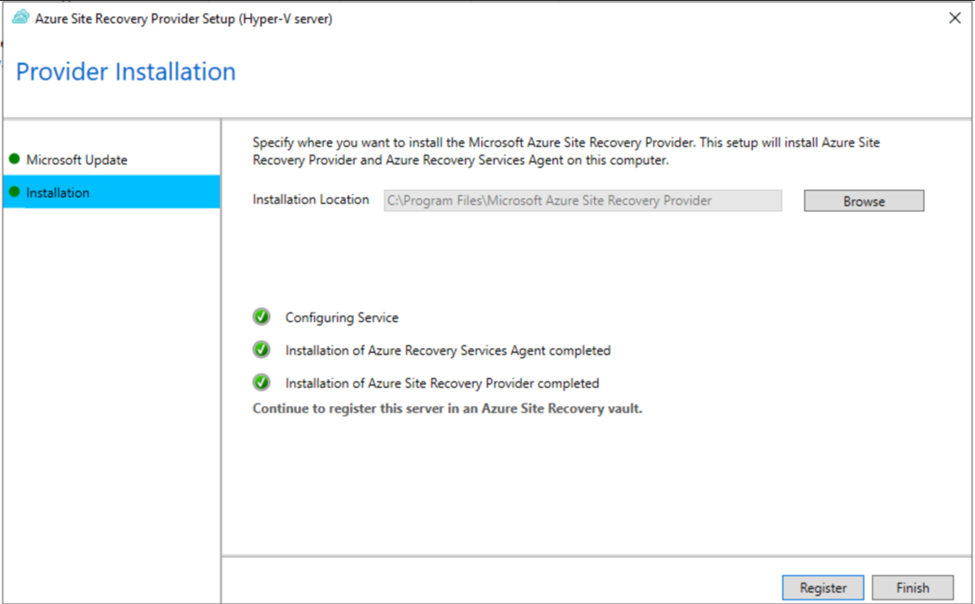
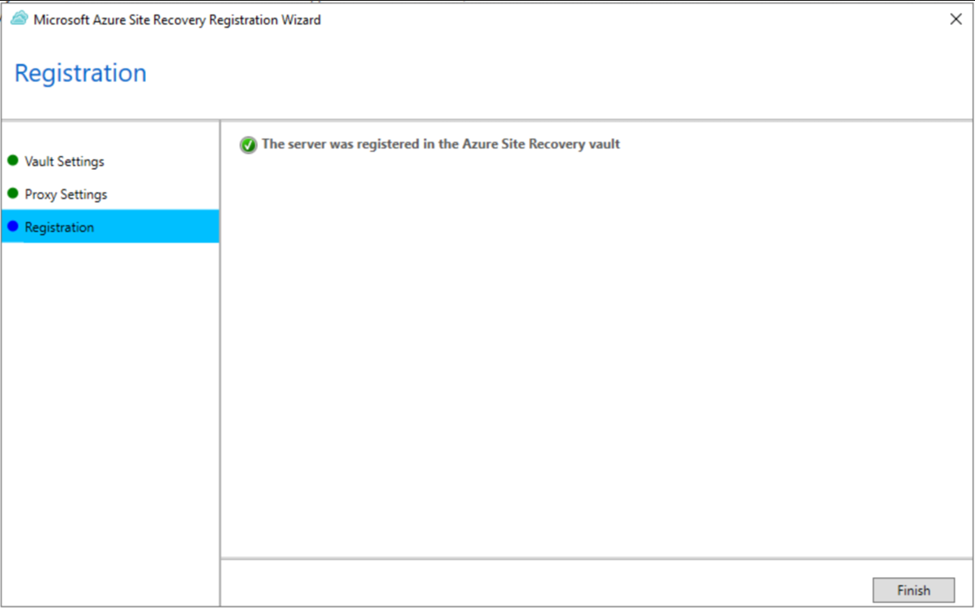
3.4 It will take some time to complete the installation process. Once Completed, click on Register to register this Hyper-V Host Server to Azure Recovery Service Vault.
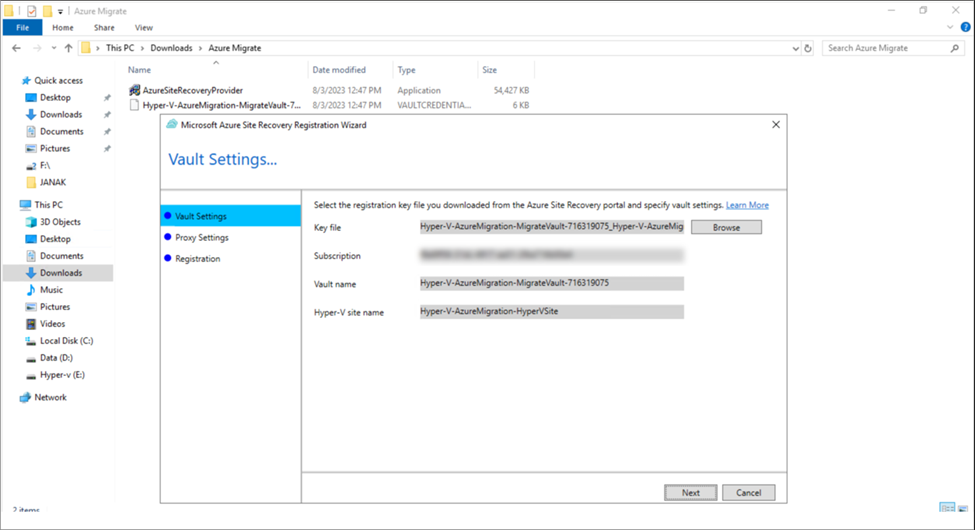
3.5 Click on Browse, locate the registration key file (previously copied file) and select Open. It will automatically fill the Subscription, Vault name and Hyper-V site name. Click on Next to proceed.
3.6 In the next page, ensure the option “Connect directly to Azure Site Recovery without a proxy server” is checked and click on Next and then Finish.
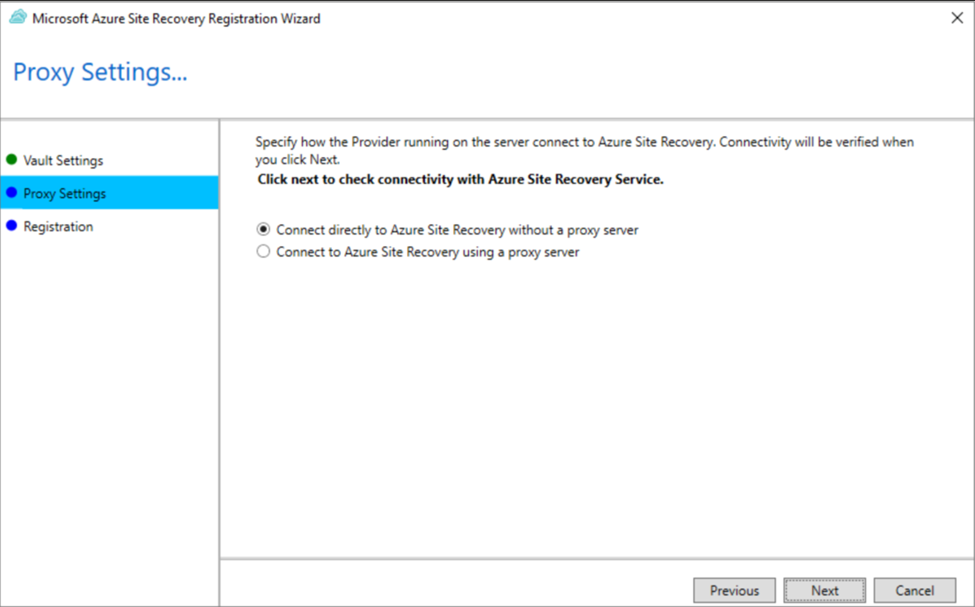
| Note: It will check the connection between this server to Azure Site Recovery services. For this, the server needs to have access on Outbound Connection to HTTPS port 443 to Azure services. |
3.7 Go back to the Azure portal, in the Azure Migrate Discover page, you’ll see the Registered Hyper-V hosts count increases. Click on Finalize registration.
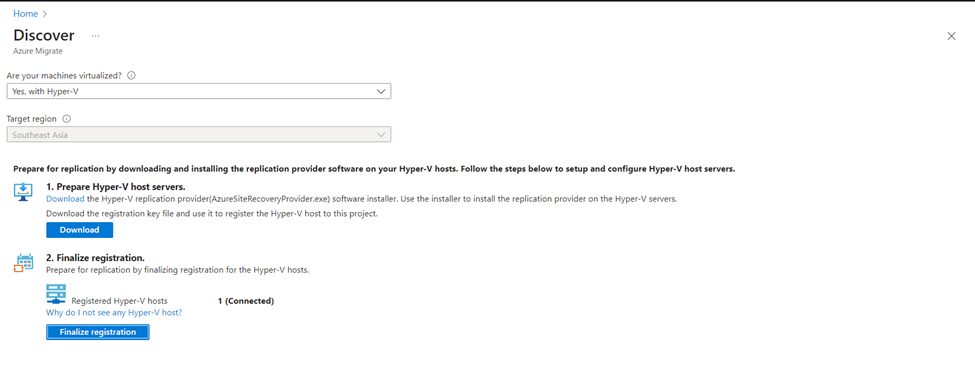
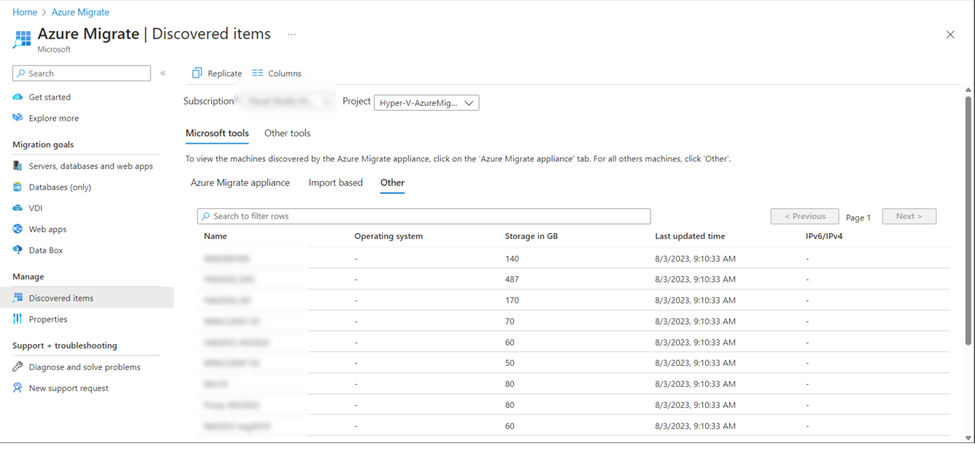
It can take up to 15 minutes to finalize the registration process. Once completed, discovered servers count rises under the Migration tools section and from left under the Manage pane Discovered items will show you the total discovered VM servers.

Step 3: Replicate Hyper-V VMs to Azure
Your discovery phase is done, and now it’s time to kickstart the replication of your Hyper-V VMs to Azure. Remember, you can replicate up to 10 machines at once. Need to move more? Just replicate in batches of 10.
1. Go to your Azure portal à Azure Migrate project à Servers, databases, and web apps section. Under Migration and modernization tools, select Replicate.
Or you can do it through Discovered items under Manage section from the left pane in Azure Migrate project. Select Replicate from the top.
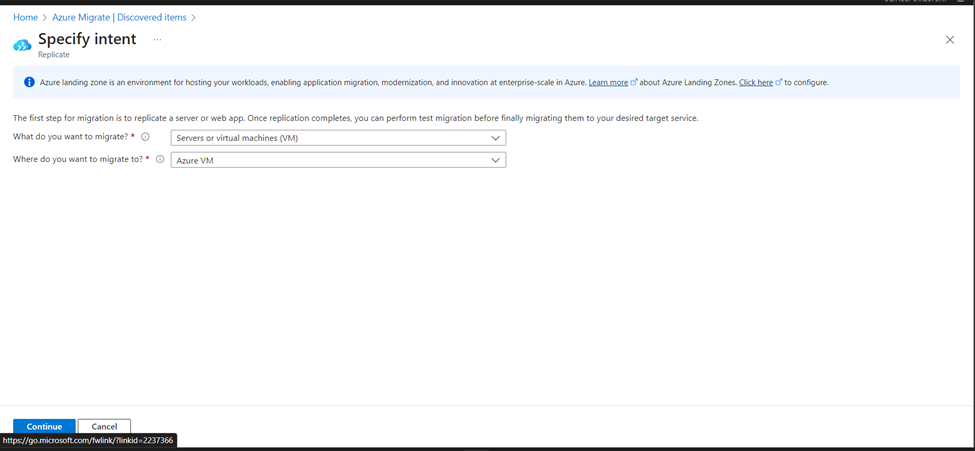
2. In the Specify intent page, select Servers or virtual machines (VM) on the “What do you want to migrate?” option and ensure that the Azure VM is there on “Where do you want to migrate to?” option. Click on Continue to proceed.
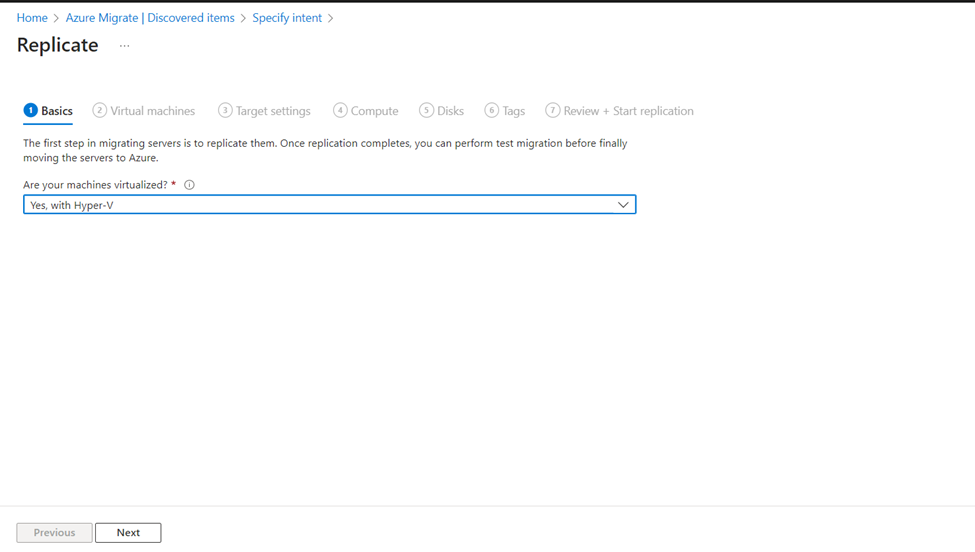
3. In the Replicate page, under Basics setting select Yes, with Hyper-V option in “Are your machines virtualized?”. Click on Next to proceed.
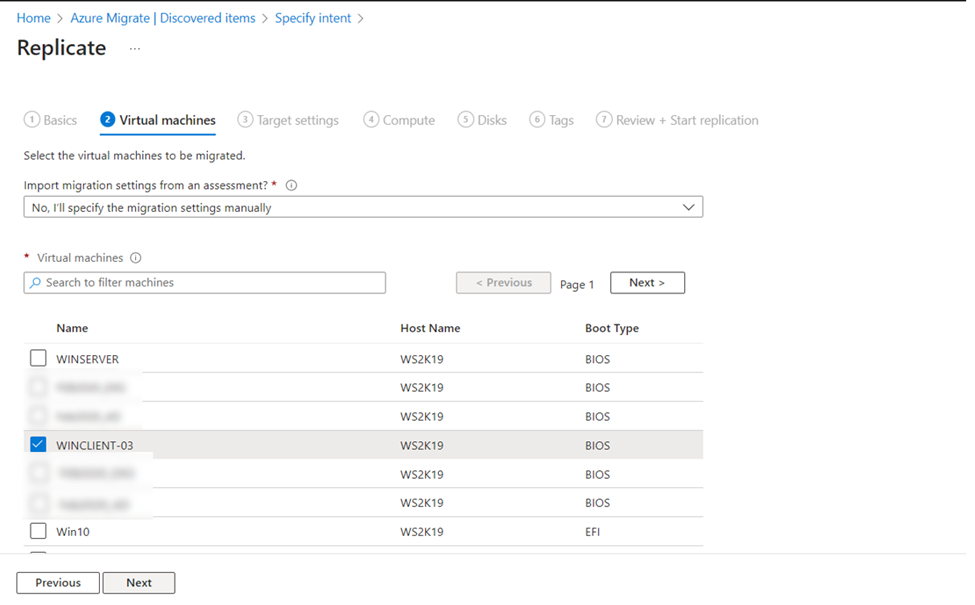
4. In Virtual machines, search for VMs as needed, and check each VM you want to migrate. Then, click on Next.
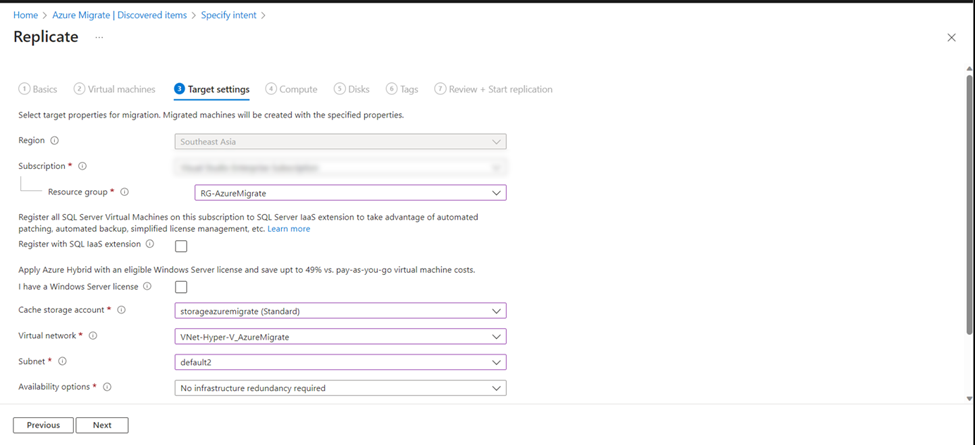
5. Set up your Target settings for migrating VMs.
- Select the target region to which you’ll migrate your VMs, your Azure subscription, and the Resource group in which the Azure VMs will reside after migration.
- Select your Storage account as the Cache storage account, to which replicated data will reside in Azure.
- Choose the desired Azure Virtual network, Subnet to which Azure VMs will join after migrated.
- In Availability options, choose according to your plan. Here, I’m choosing “No infrastructure redundancy required” option as I don’t need either of these availability configurations for the migrated machines this time around.
Click on Next to proceed.
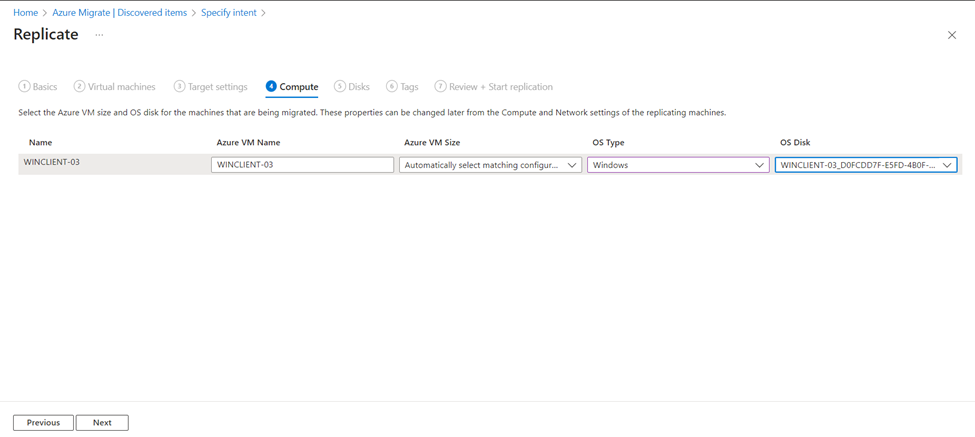
6. In Compute, review the VM name, size, OS disk type, and availability configuration (if selected in the previous step). VMs must conform with Azure requirements.
- VM size: If you’re using assessment recommendations, the VM size dropdown will contain the recommended size. Otherwise, Azure Migrate picks a size based on the closest match in the Azure subscription. Alternatively, pick a manual size in Azure VM size.
- OS disk: Specify the OS (boot) disk for the VM. The OS disk is the disk that has the operating system bootloader and installer.
- Availability Set: If the VM should be in an Azure availability set after migration, specify the set. The set must be in the target resource group you specify for the migration.
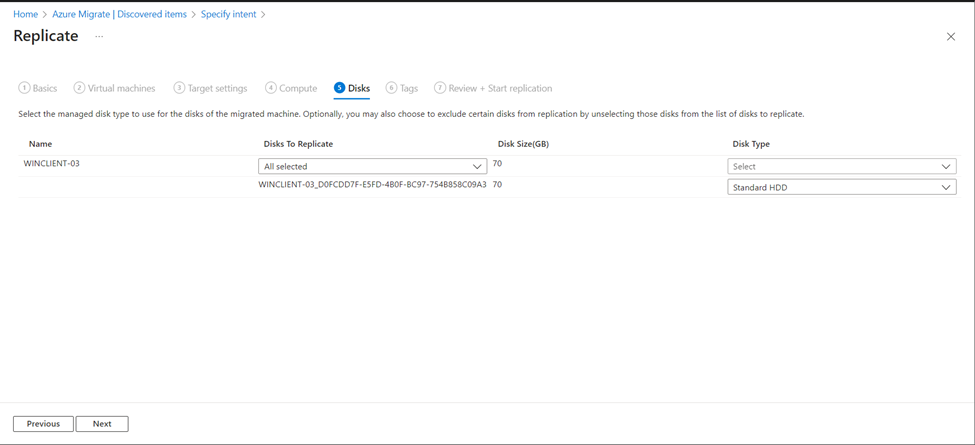
7. In Disks, specify the VM disks that need to be replicated to Azure. Then select Next.
- You can exclude disks from replication.
- If you exclude disks, won’t be present on the Azure VM after migration.
Here in my case, I’ve only a single Disk thus the options to exclude Disks is not there. Click on Next.
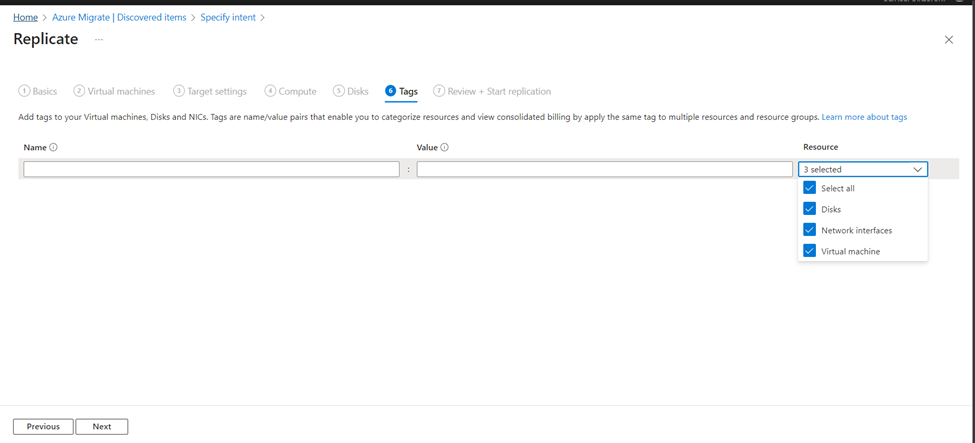
8. In Tags, choose to add tags to your Virtual machines, Disks, and NICs if you want, or you can also proceed without tagging.
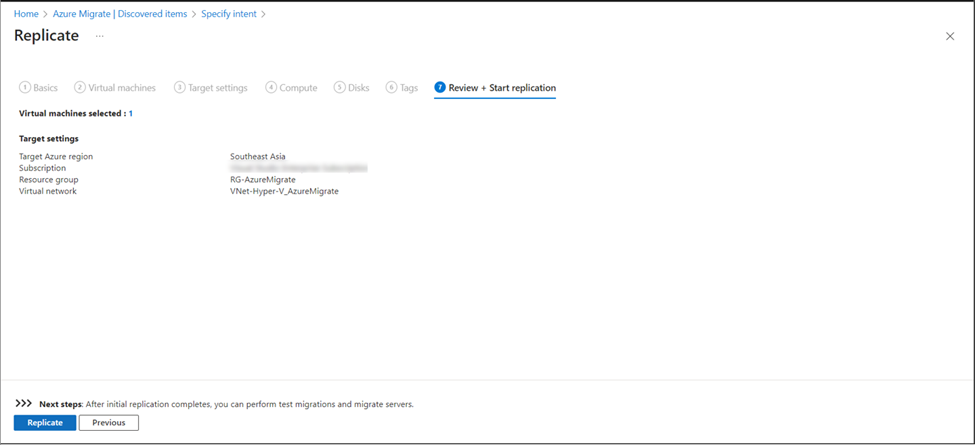
9. Final Check Before Replicating: Review your settings in the ‘Review and Start Replication’ section. When ready, simply hit Replicate to kick off the initial server replication.
As we wrap up Part-1 of our Azure migration guide, take a moment to celebrate the strides you’ve made. From preparing your Azure environment to replicating your Hyper-V VMs, you’ve set the stage for a successful migration. But our journey is far from over.
Get ready for Part-2, where we’ll explore the final phases of the Hyper-V VMs to Azure migration. We’ll dive into tracking progress, rigorous testing, and the grand finale: live migration. Your VMs’ new home in Azure awaits, and we’ll be your guide every step of the way. Stay tuned for the next chapter in this migration masterpiece!
Er. Janak Khadka