This article explains how to use the Mail Merge feature in Microsoft Word to create and email messages by using data from a Microsoft Excel worksheet through Outlook Client.
When you use the Word Mail Merge feature, Word merges a main document with a recipient list to generate a set of output documents and we c then send it to individual recipients using Outlook client.
| Note: Here, I’m using the Word Mail Merge feature to send emails to each participant to invite for the interview, in which all the email contents will be same except everyone’s related information like name, email, applied post, interview date and time etc. |
Step 1: Set up the Data Source (Excel Data File)
Before you proceed with the Mail Merge Wizard, make sure that your Excel worksheet is well structured for this purpose.
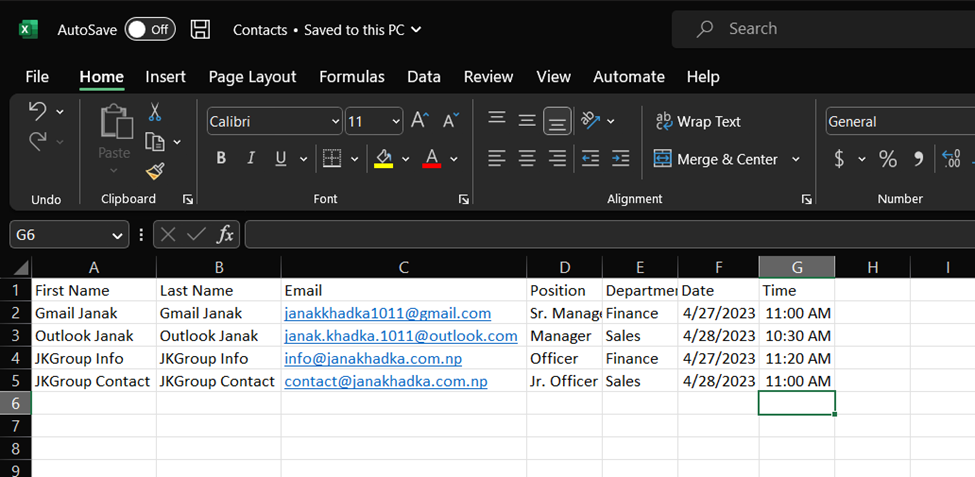
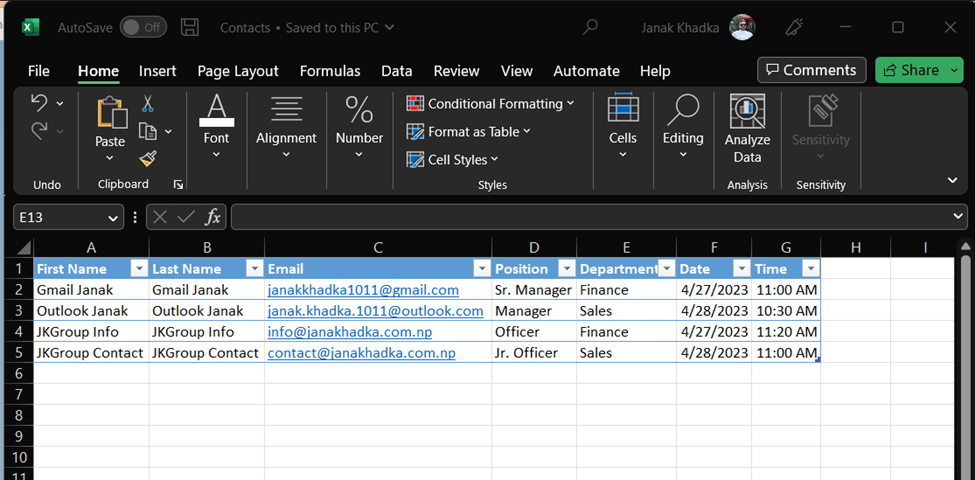
- I’m using the below Excel file as my data source (you should prepare this file as per your requirement which you’re going to use later in the main document/ main message).
- Now, format your excel file as Table by clicking on Format as Table section from Home page in the Excel file. Select any option as per choice.
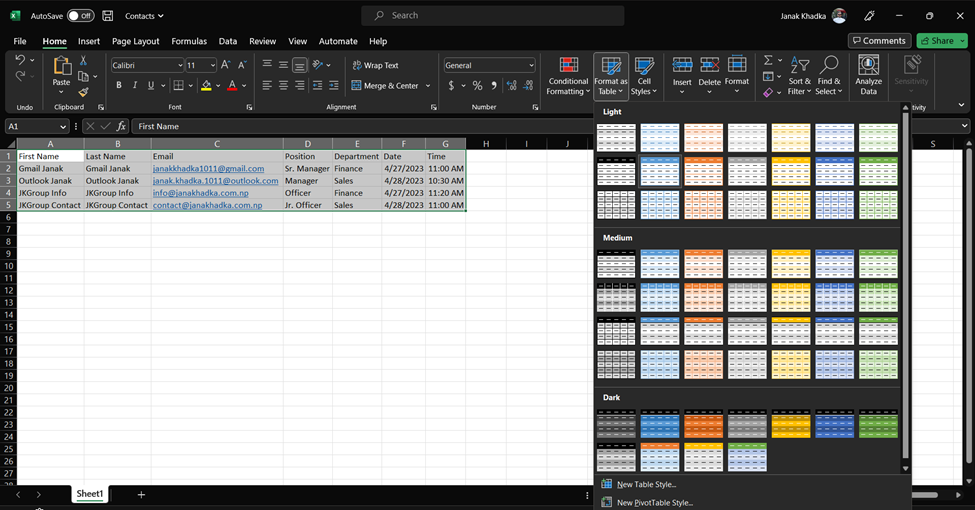
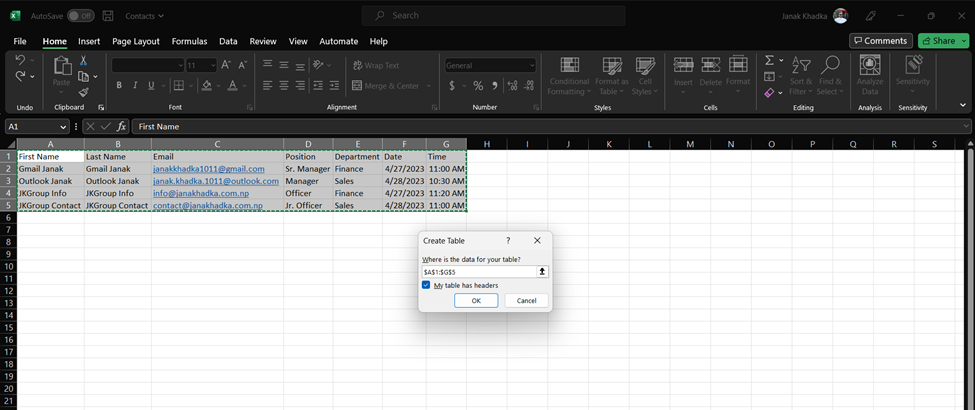
- It will popup for the confirmation on creating the table, click on OK.
Now, your Data Source, in this case the Excel data file is ready. You can close the file.
Step 2: Set up the Main Document
- First of all, in Microsoft Word prepare your main document/messages as per your requirements.
Following is the email message sample which I’m going to send to multiple recipients.
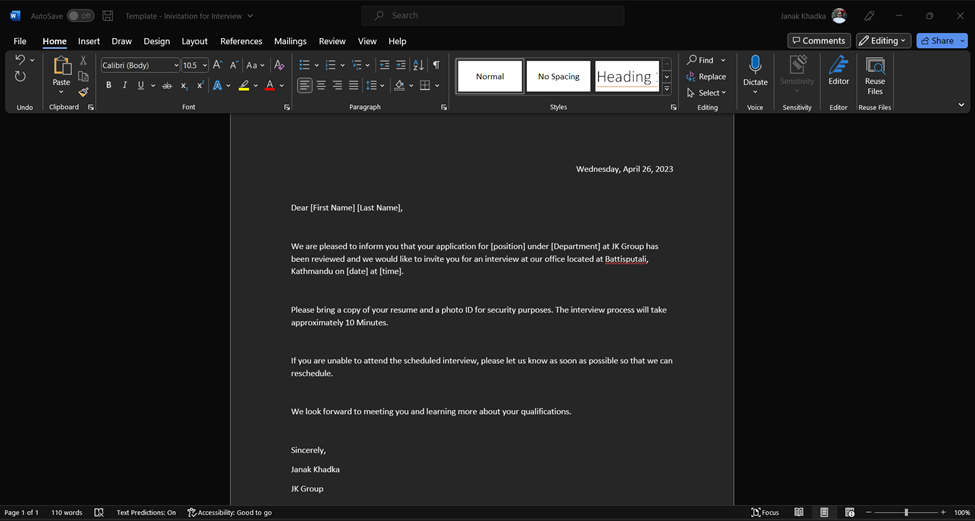
Here, the contents included inside big bracket [] are variable, which will be fetched out from the Data Source i.e., Excel Data file prepared in the previous steps.
Step 3: Setup the Mail Merge Settings
After preparing your Data Source (in my case Excel Data file) and Main Document (in my case Main Message), you should now enable and configure Mail Merge settings. For this, follow the below steps.
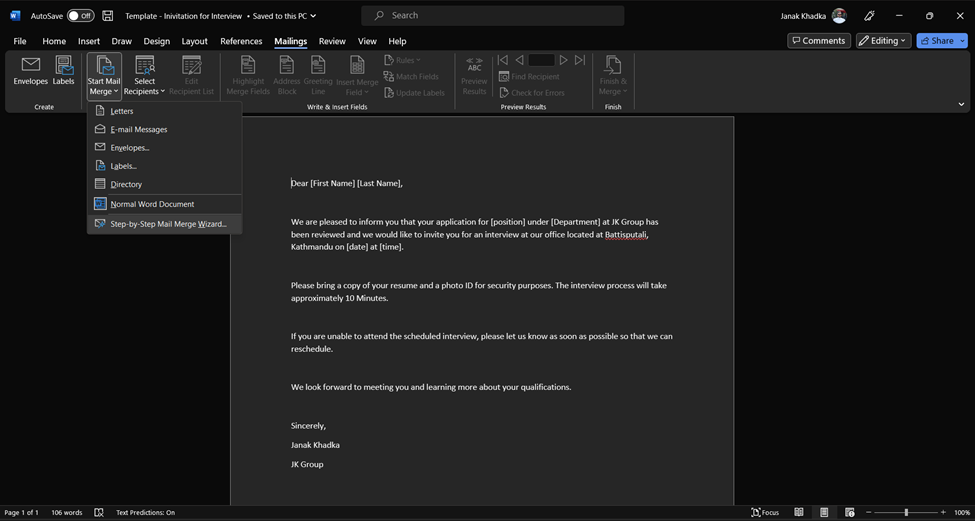
- Go to Mailings section in your opened word file, click on Start Mail Merge and then select Step-by-Step Mail Merge Wizard option from drop down.
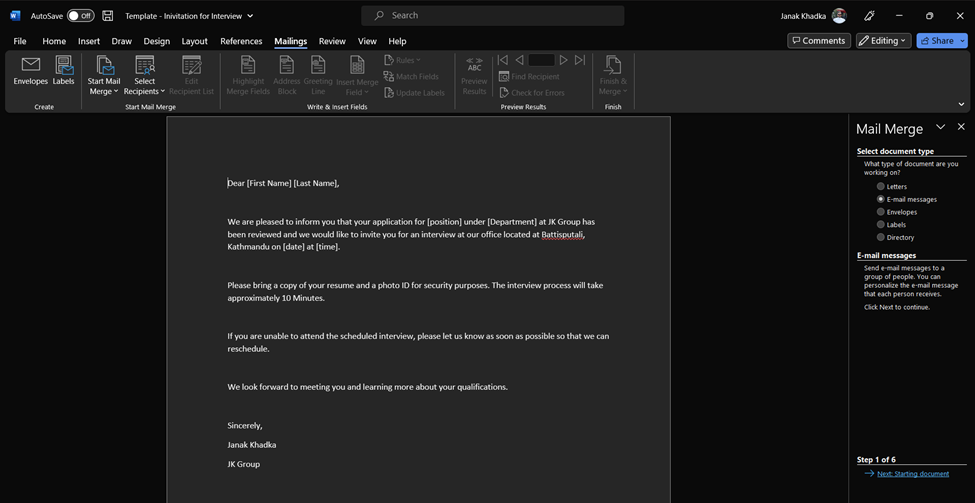
- From right side, select E-mail messages and then click on Next: Starting document from bottom.
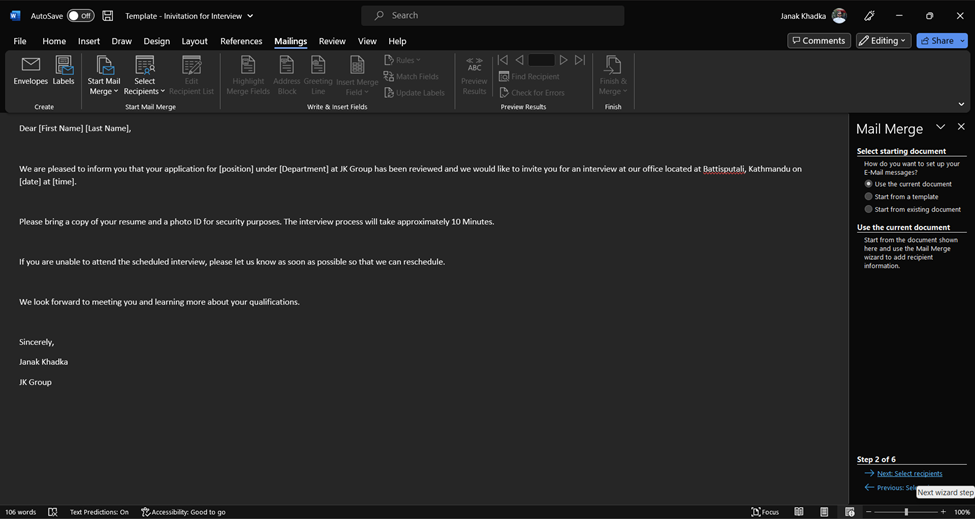
- Leave the option Use the current document selected, and then select on Next under step 2 of 6 from bottom of the page.
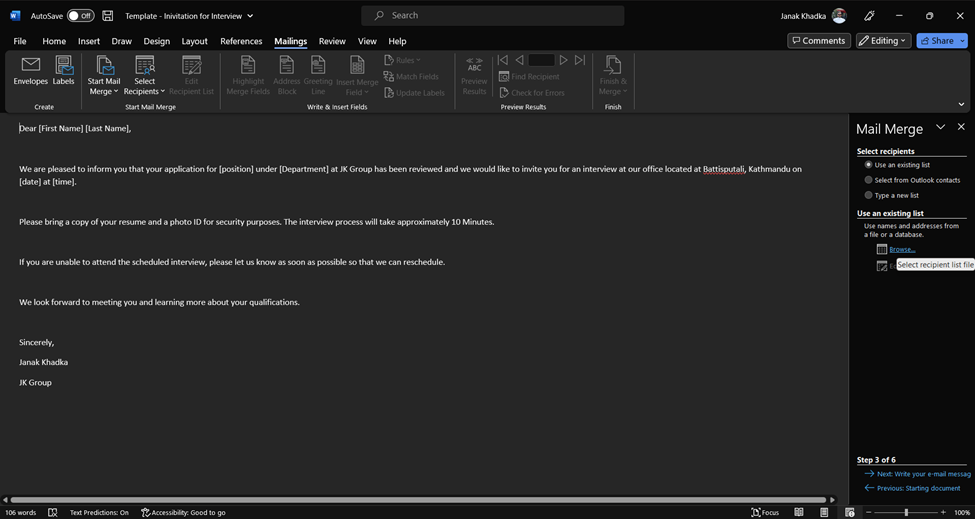
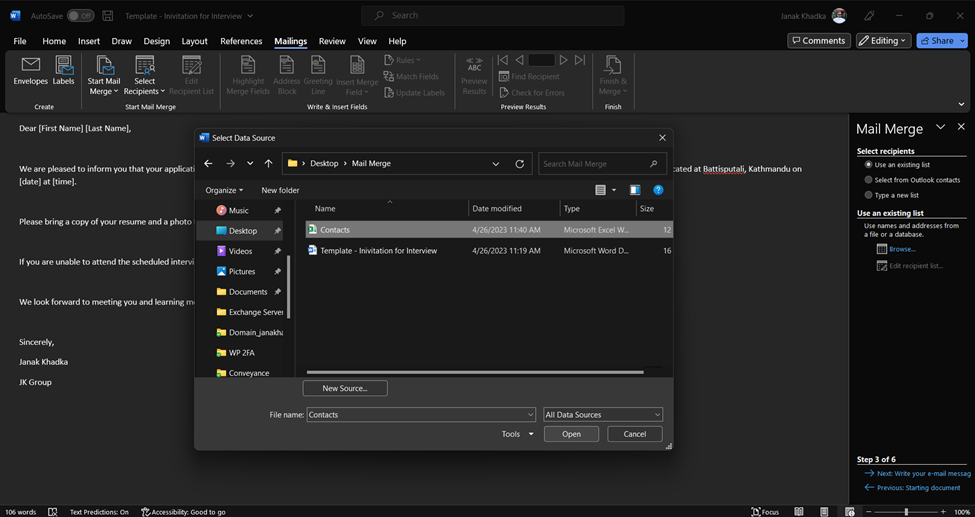
- On the next Mail Merge settings, choose Use an existing list and then select Browse option.
- Browse for the location where you’ve saved your Excel Data file in the Step 1 and then click on Open.
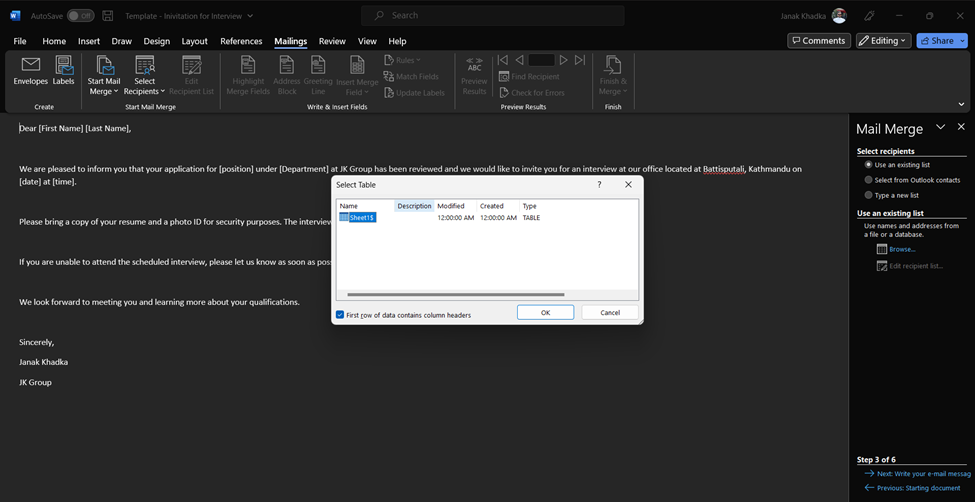
- Choose your table if you’ve multiple tables in the Excel Data file. In my case, I’ve only a single table, selected it and clicked on OK.
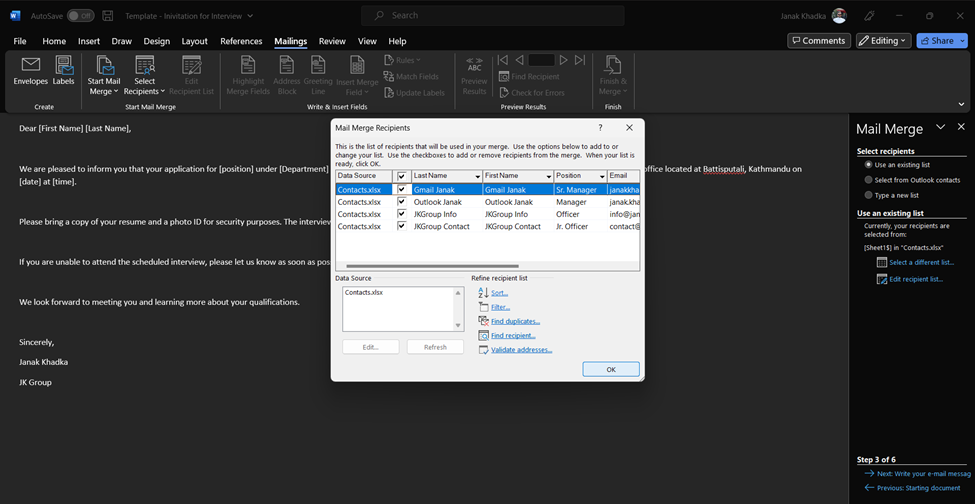
- It will show the list of data on that Excel Data file, click on OK to proceed and then click on Next: Write your e-mail message on the bottom of the page.
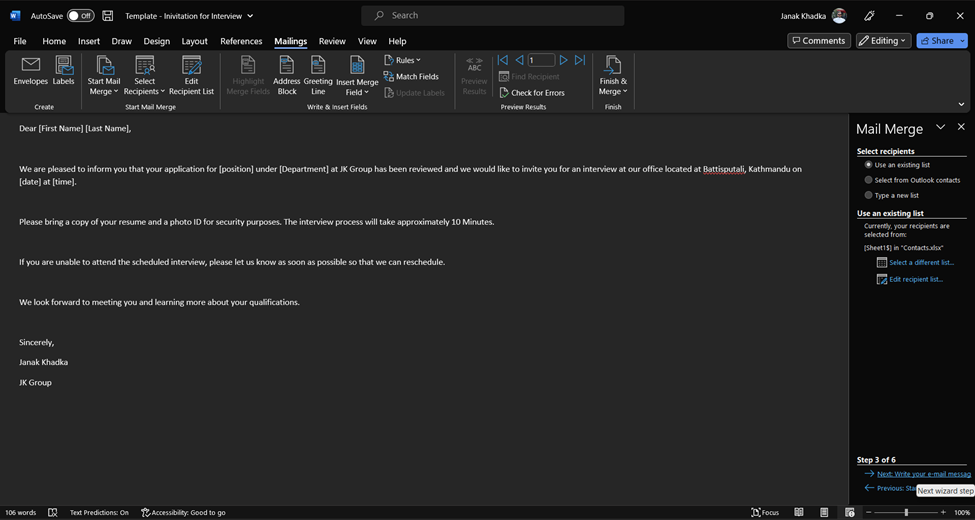
- Now, modify your main document matching the variables set previously and the data from the excel data file.

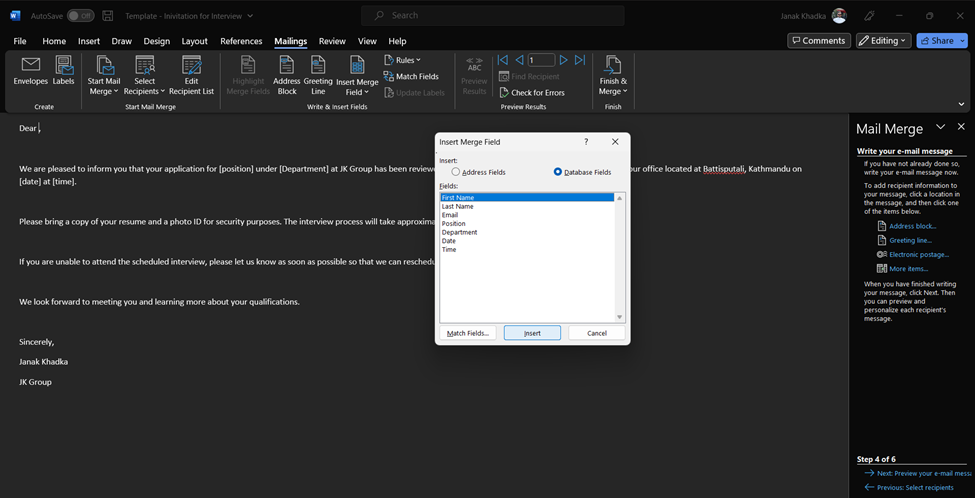
Here, in my prepared message, [First Name] [Last Name] should be the First Name and Last Name from the Excel Data file.
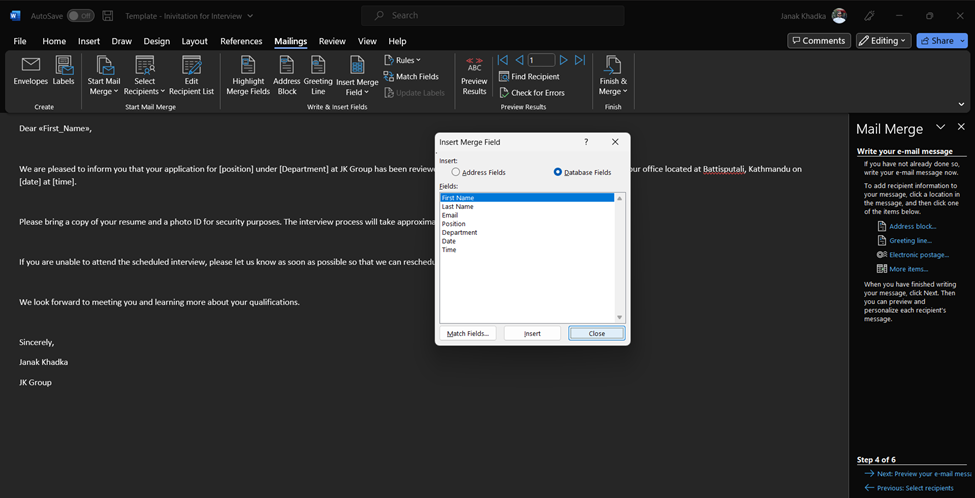
- To do so, first delete “[First Name] [Last Name]” and leave the cursor on the same section, from Mail Merge settings select More items, then select First Name field, click on Insert and then Close.

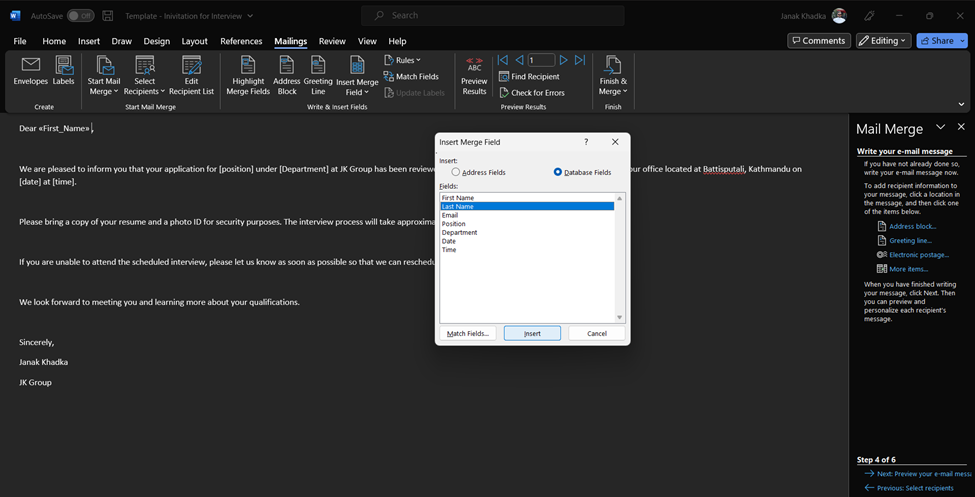
- Insert space and the repeat the same task as 8 –>1 for [Last Name]
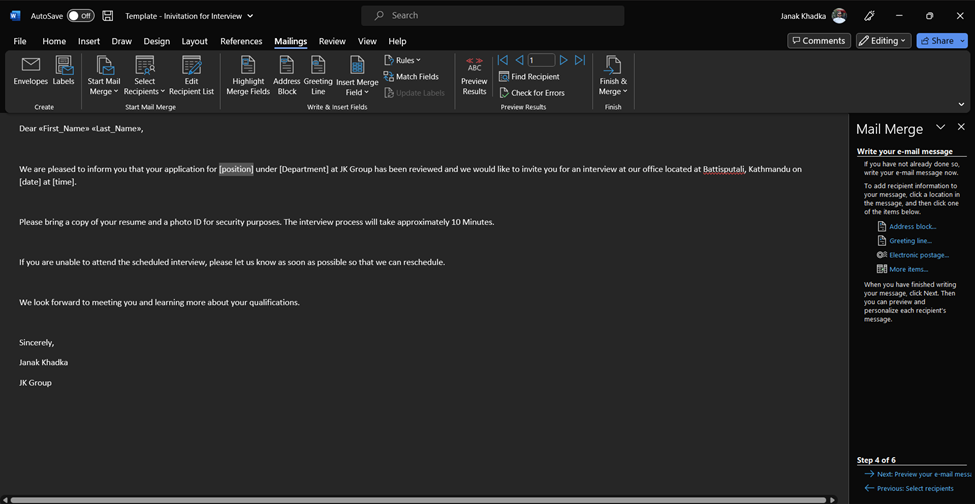
Similarly, replaced all the variables “[position], [Department], [date], [Time]” with the related fields from the Excel Data file.
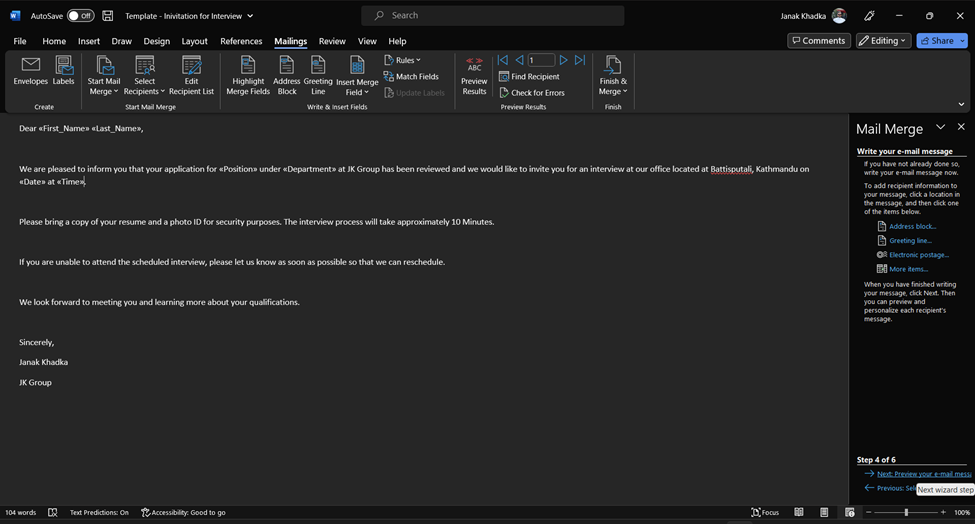
- Click on Next: Preview your e-mail message to preview your setup
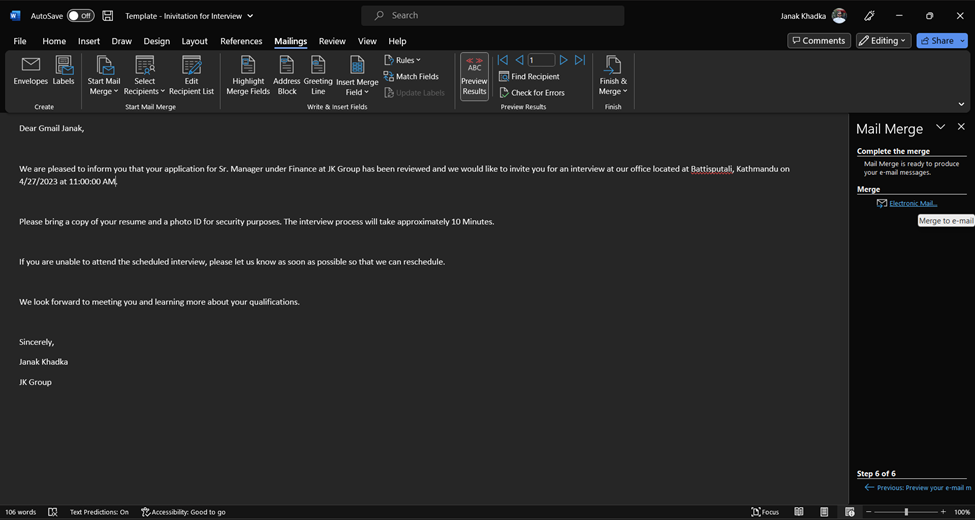
Step 4: Complete the Mail Merge Setup and Send Email
- Click on Electronic Mail option from Mail Merge settings to complete the setup.

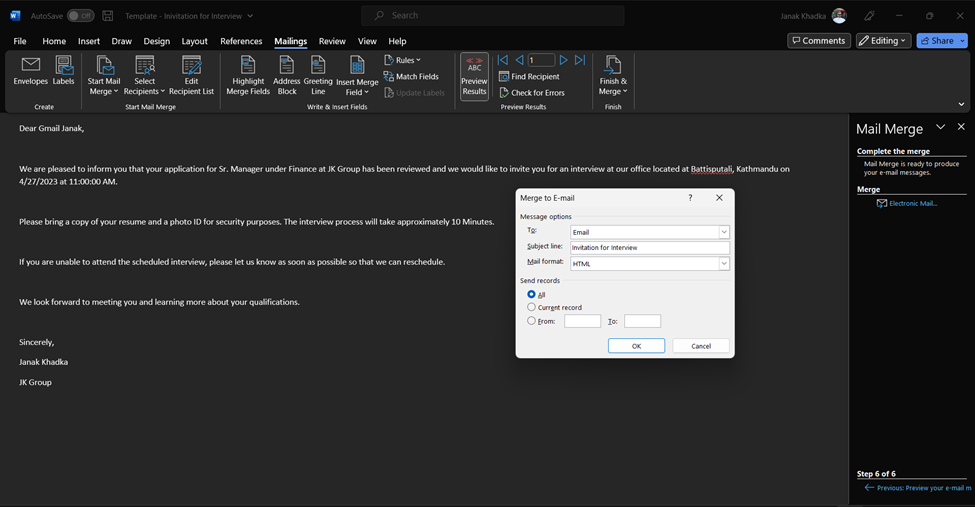
- You can now set up for sending email. Give a relevant Subject for the email, choose Email field from the Excel Data file, select All or selective data under Send records to send email. Clicking on OK now will send an email to each individual included in Excel Data file.
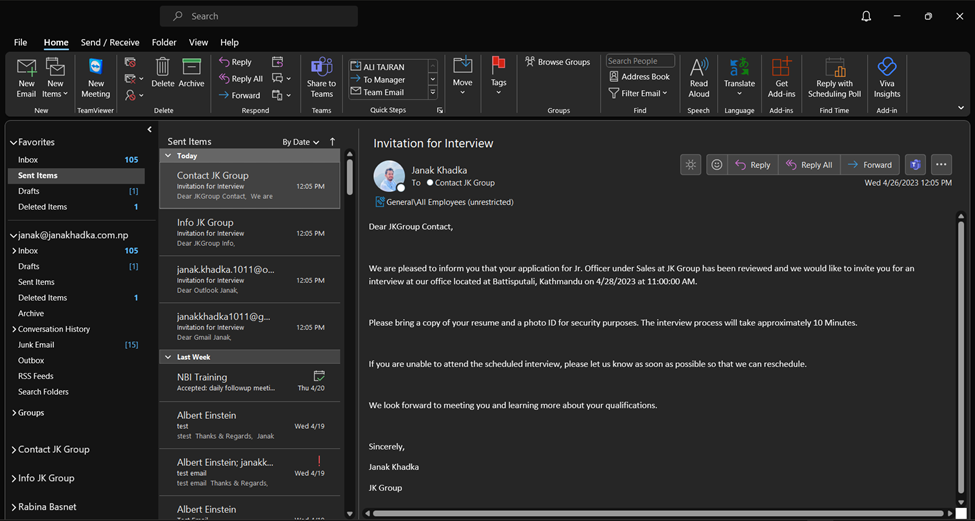
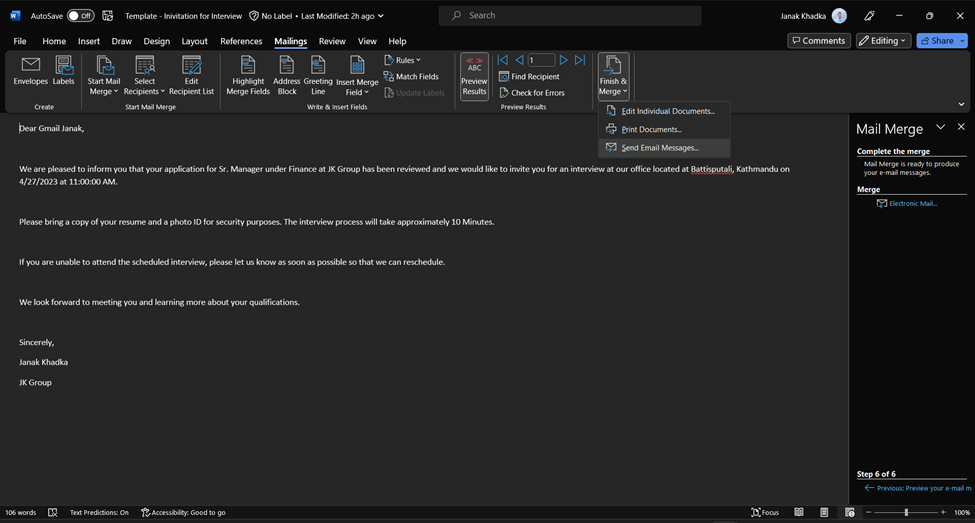
You can also send email using this Mail Merge later using the option Finish & Merge à Send Email Messages from the Mailings section on the Microsoft Word.
Er. Janak Khadka