This guide will help you to login to Microsoft 365 portal as a fresh user who are trying to login for the very first time. It will also guide users to know about basic features of Microsoft 365 Outlook.
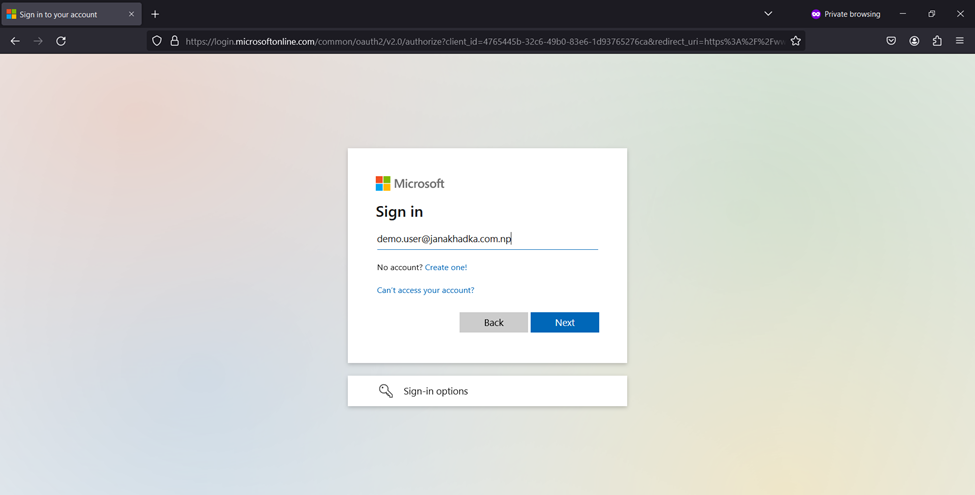
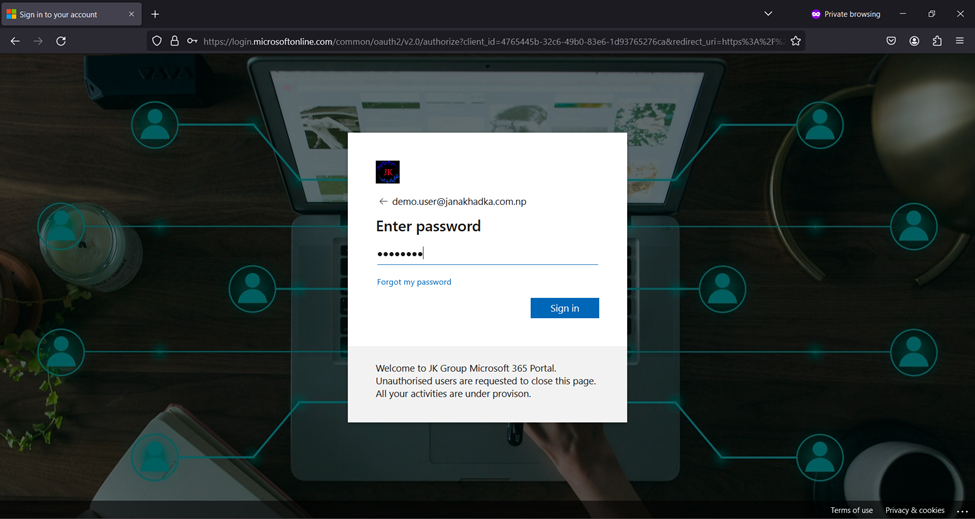
First of all, open Browser (Microsoft Edge, Mozilla Firefox, Google Chrome, etc.) from your Desktop and Type URL: https://portal.office.com/ or https://www.office.com/, then type your username and Password.
Example:
Username/Email: demo.user@jankhadka.com.np
Password: <Temporary password>
Click Sign in.
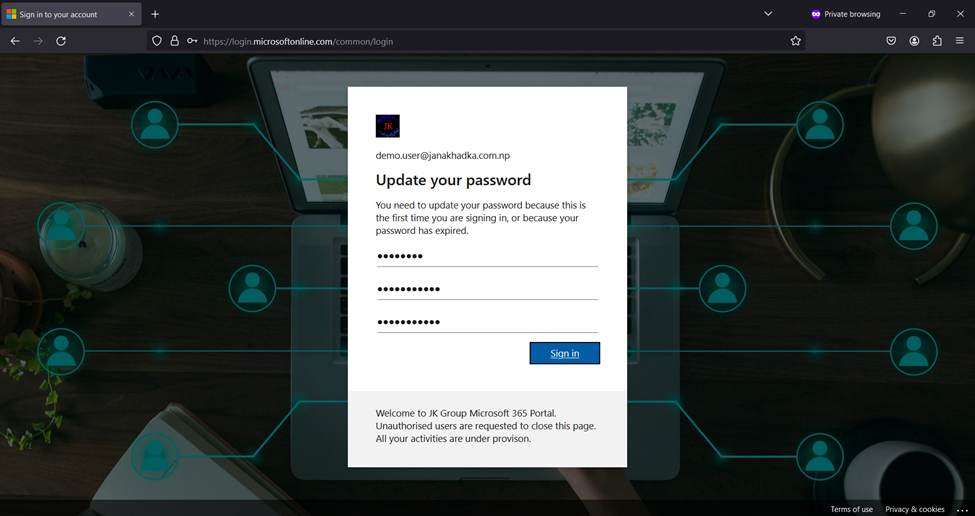
It will prompt to update the password. Enter the provided temporary password in place of Current password and set the new password. This portion is only for the first-time login.

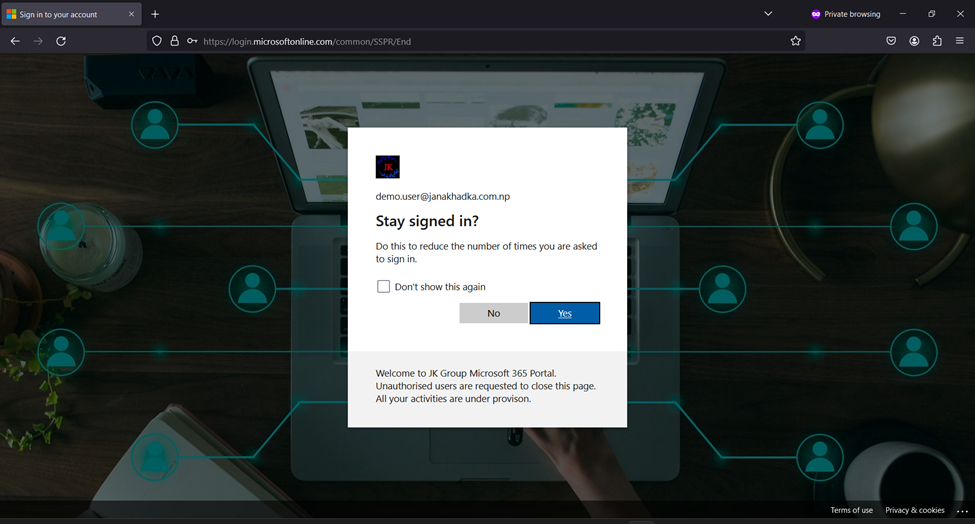
You can select either of the options Yes/No.
1. Yes: For saving the logged-in session for other Microsoft 365 apps on the same browser on the same session.
2. No: For denial of the option Yes.
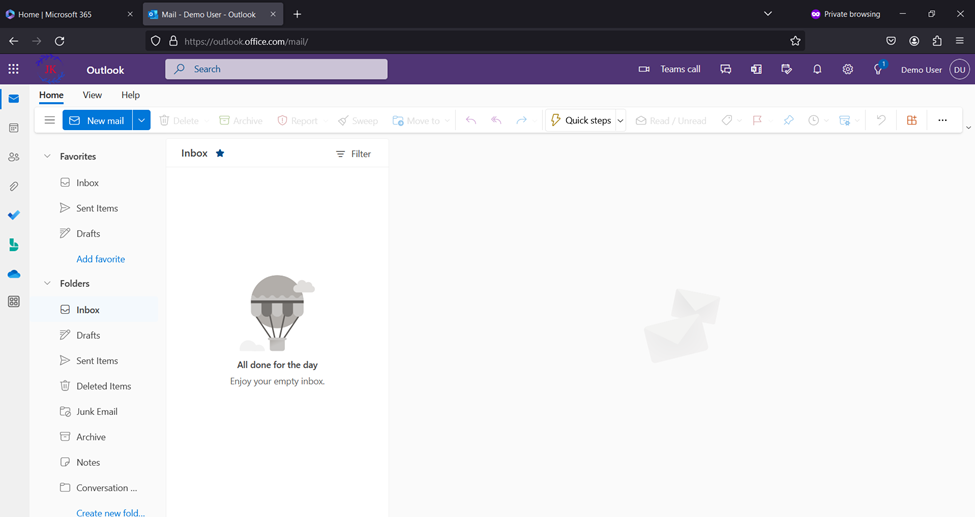
After successful login, you can see an Office page identical to the below included page. From this Page, you can click and open all the apps you have assigned.
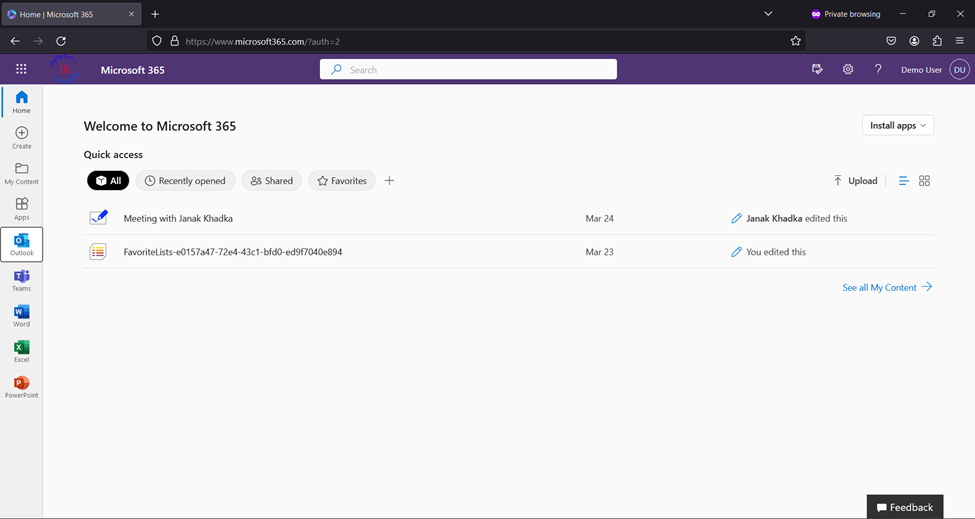
For Email service, Click on Outlook. It will open outlook in next tab.
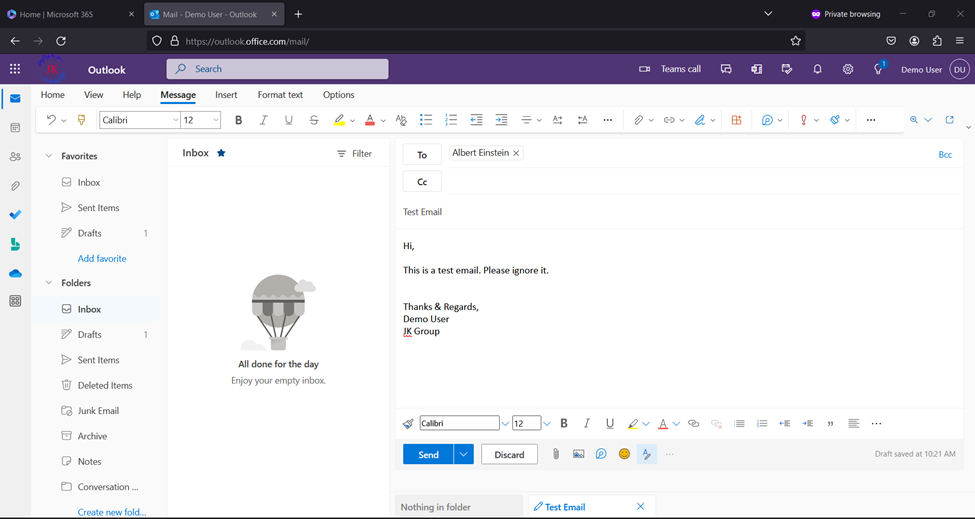
Click on New mail to Create New Email and Click Send after filling everything you require.
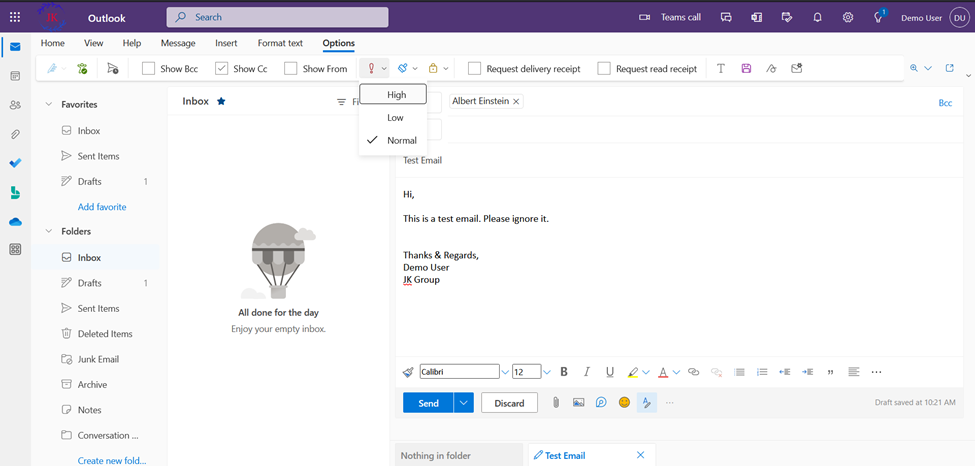
If Email need to send with Importance tag. Click on Options section at the top and from importance dropdown select accordingly.
If Email need to Send with having Delivery and Read Report. Click on Options section at the top and select the options Request delivery receipt and Request read receipt and then click on Send.
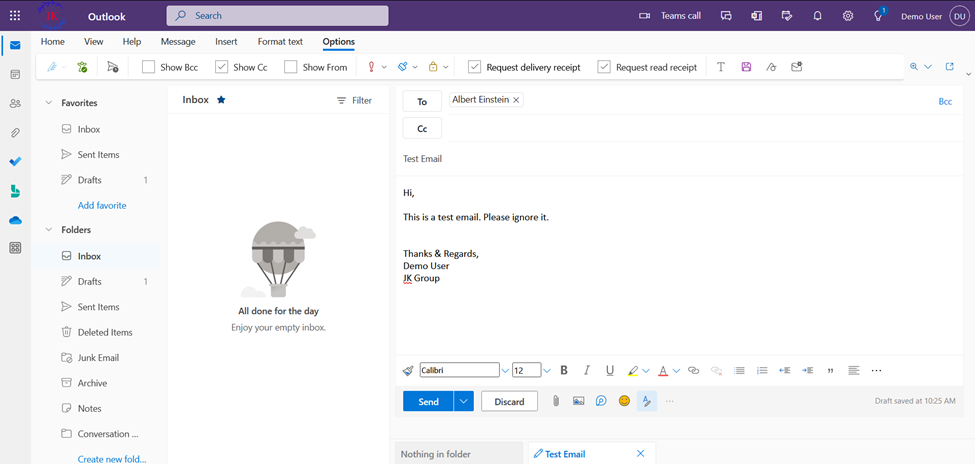
Note: If you have Selected Request a delivery report and read report, the Delivered and Read report will be received after successful delivery and read of the sent email at the recipient end respectively.
To schedule your email, you need to select the Schedule Send option from the dropdown on Send button.
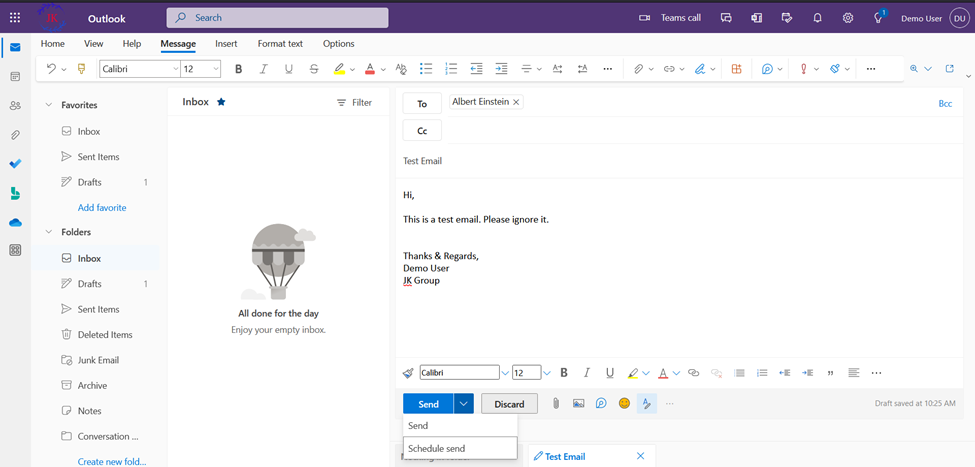
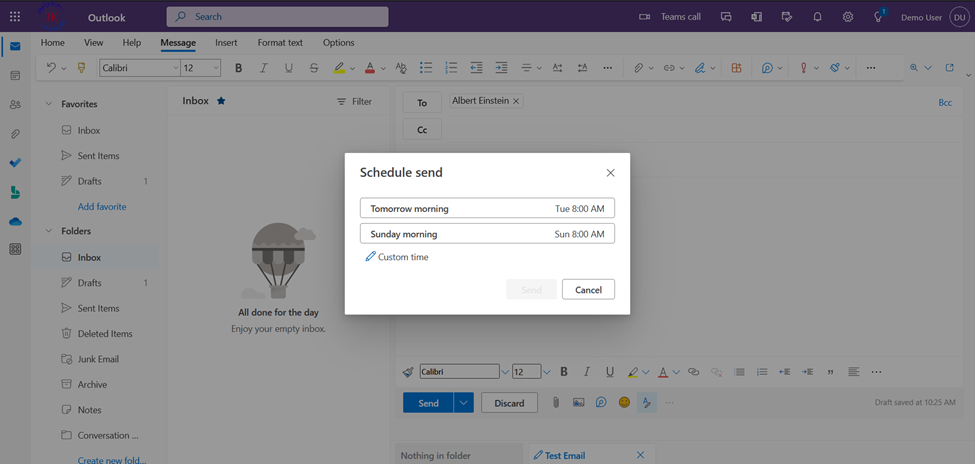
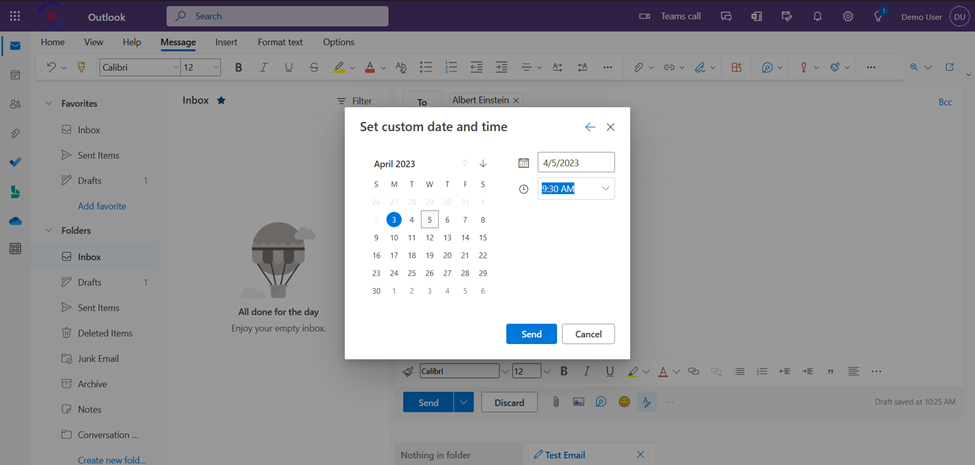
It will suggest you with some scheduling, you can either select one of them or select other custom date and time from Custom time option. After selecting date and time, click on Send.
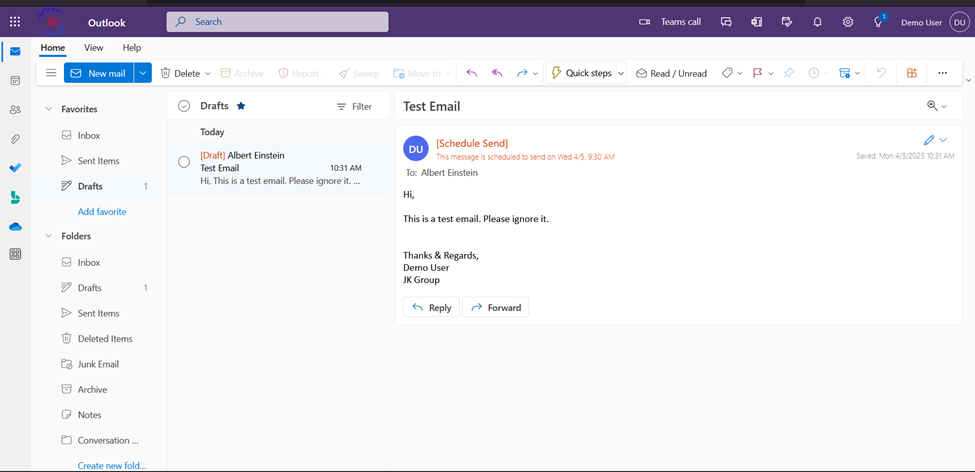
The scheduled email will be stuck in the Drafts section until the scheduled date and time.
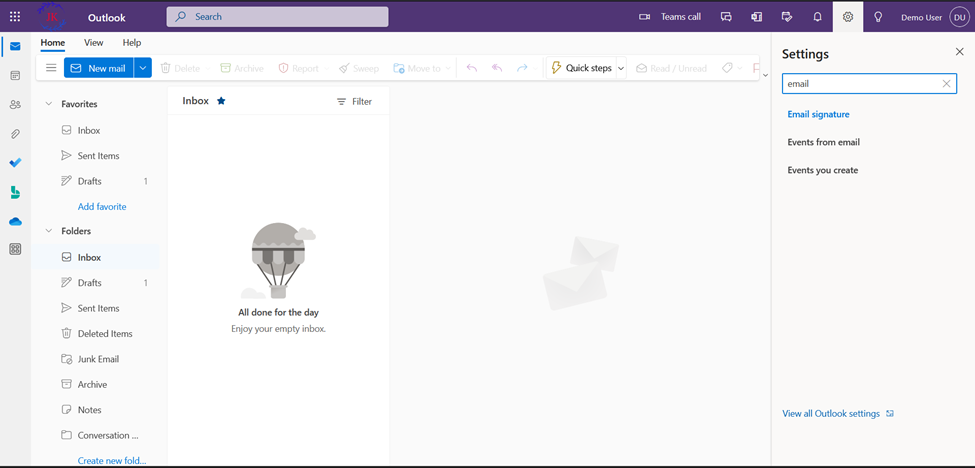
To create Email Signature, click on Settings on the top right side. Then on the searching page, search for the email signature, Click on Email Signature option.
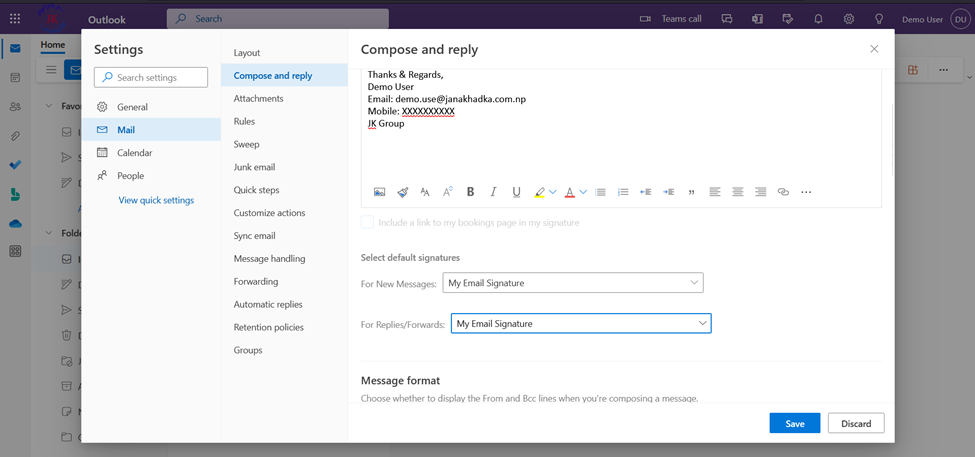
On the newly opened page Compose and reply, give a name to the signature, make the email signature as per your requirement and click on Save.

On the same page, scroll down and select default signatures For New Messages and For Replies/Forwards and click on Save. You can also make separate email signatures for the New Messages and for Replies/Forwards.
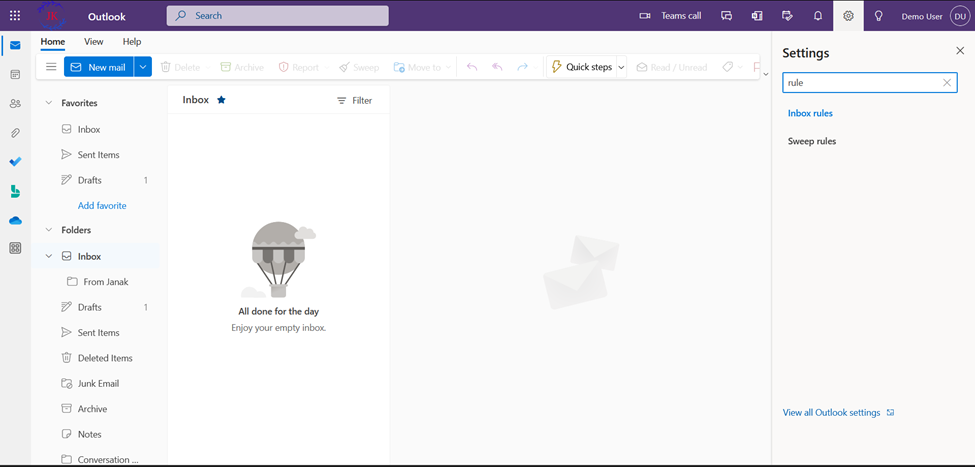
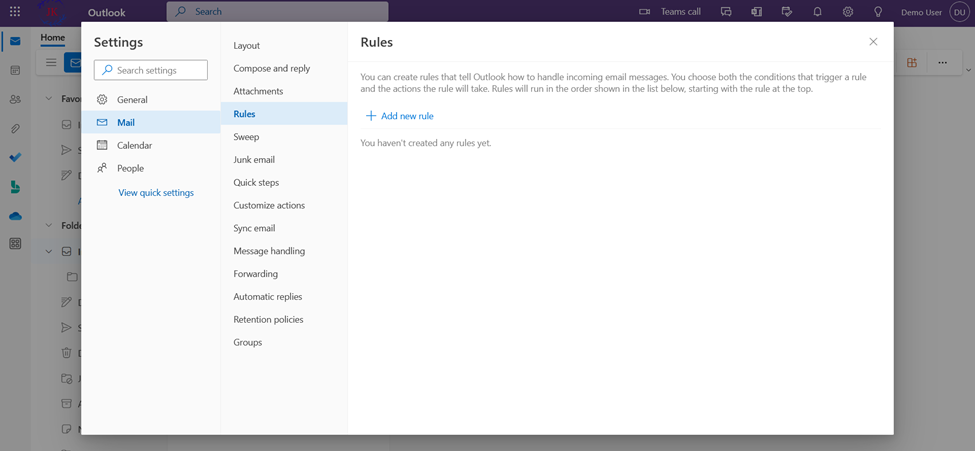
In order to create Inbox Rules, click on Settings on the right. On the searching page, search for the rule and select Inbox rules.
Here, I’m creating an inbox rule such that all the emails coming from user “janak@janakhadka.com.np” will be delivered to the separate folder named “From Janak”.
Thus, we need to create folder before creating rule by right-clicking on Inbox and then selecting Create new subfolder or you can create a sub-folder on any other folders as per your need.
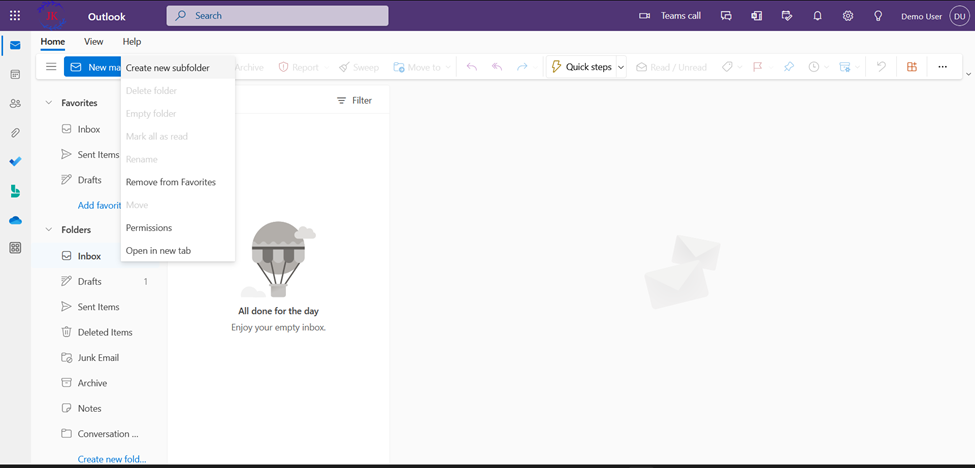
Here, I’ve created a sub-folder in Inbox with name From Janak. Now, go to the rule settings as mentioned before.
On the newly opened page, Click on ‘+ Add new rule’.
On the Rule page, type for the Rule Name, select Condition and Action as per your requirement and click Save.
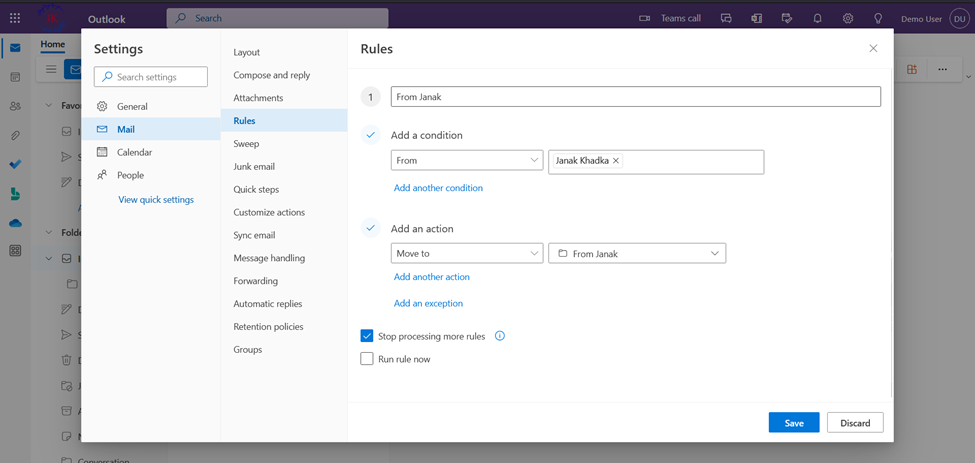
Note: If you want this rule to run for the current existing emails, you can select the option Run rule now.
Er. Janak Khadka